Abstract
LED-UV curing in label converting must be coordinated with the downstream surface processes that follow printing. A printed web may receive an overprint varnish, enter a lamination nip, pass through die cutting, and be wound into a finished roll within one production line. Each stage imposes a different requirement on the cured surface. The ink stack must be sufficiently cured to resist marking and blocking, yet compatible with varnish wetting, laminate adhesion, and rewind tension. This article examines how OEMs, converters, and process engineers can arrange LED-UV curing around varnish, lamination, and rewind stations on narrow-web presses.
Introduction
UV curing for label converting is not limited to obtaining a dry printed surface. The cured web becomes the input material for subsequent coating, lamination, and winding operations. A cure setting that appears acceptable immediately after printing can still lead to delamination, trapped bubbles, gloss variation, blocking, or label curl downstream.
The process is especially demanding on pressure-sensitive label constructions. The facestock, ink layers, overprint varnish, laminate adhesive, film laminate, pressure-sensitive adhesive, liner, and rewind tension can interact. A change at one station can alter the performance of the next.
The useful engineering objective is to create a controlled surface condition at each process handoff. The print must arrive at the varnish unit with suitable stability. The varnished or printed surface must arrive at the lamination station with reliable adhesion potential. The finished web must reach the rewind at a temperature and cure condition that prevents blocking and roll deformation.
Map the Converting Route Before Assigning Lamp Positions
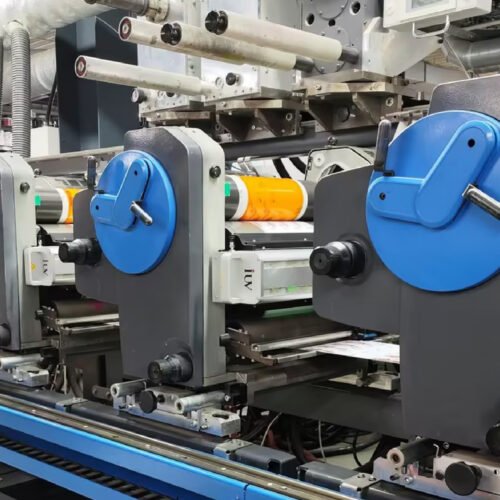
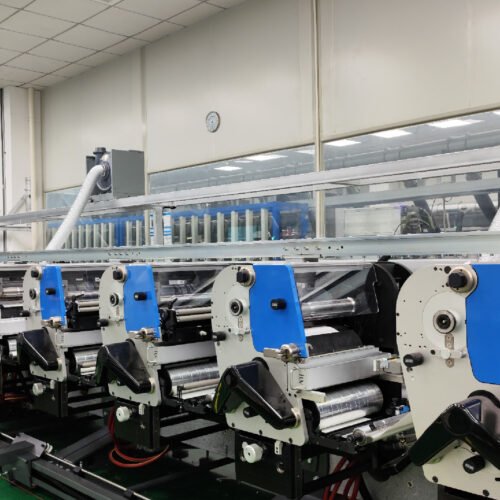
The first step is to document the actual web path. The map should identify every print unit, interstation LED head, varnish unit, final-cure head, chill roll, laminating nip, die-cut station, inspection point, and rewind section.
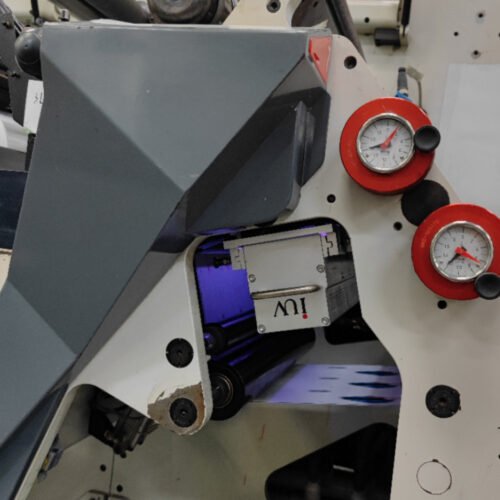
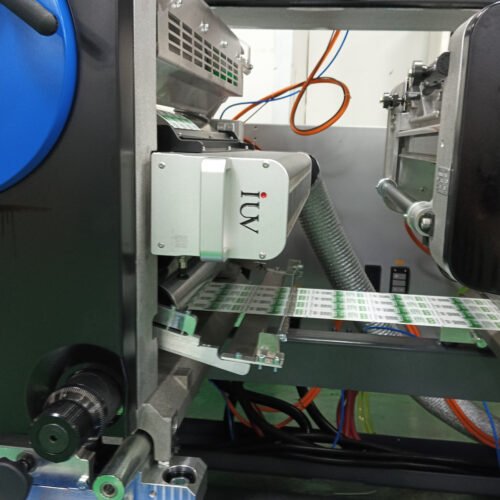
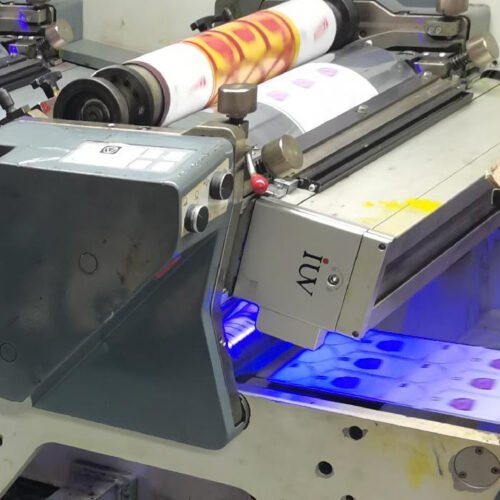
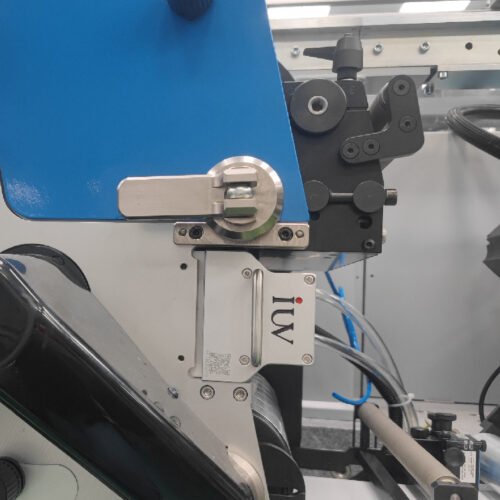
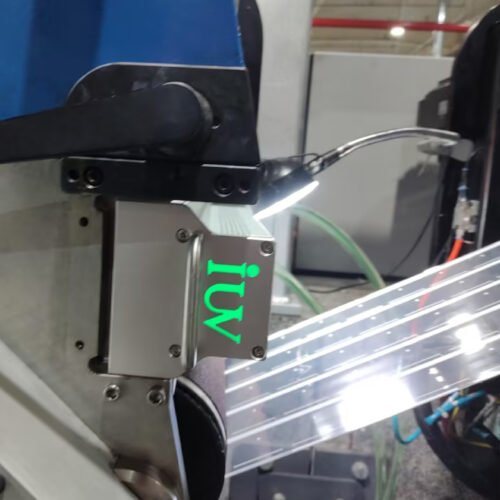
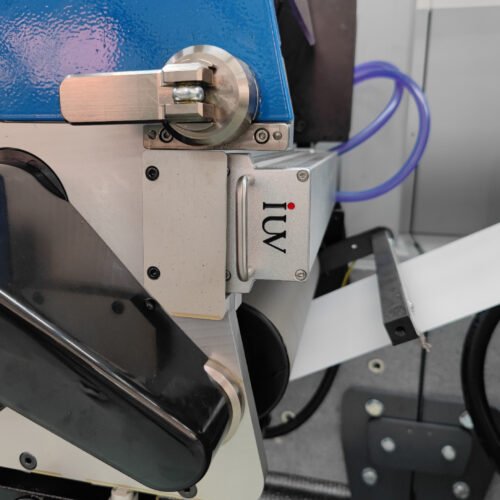
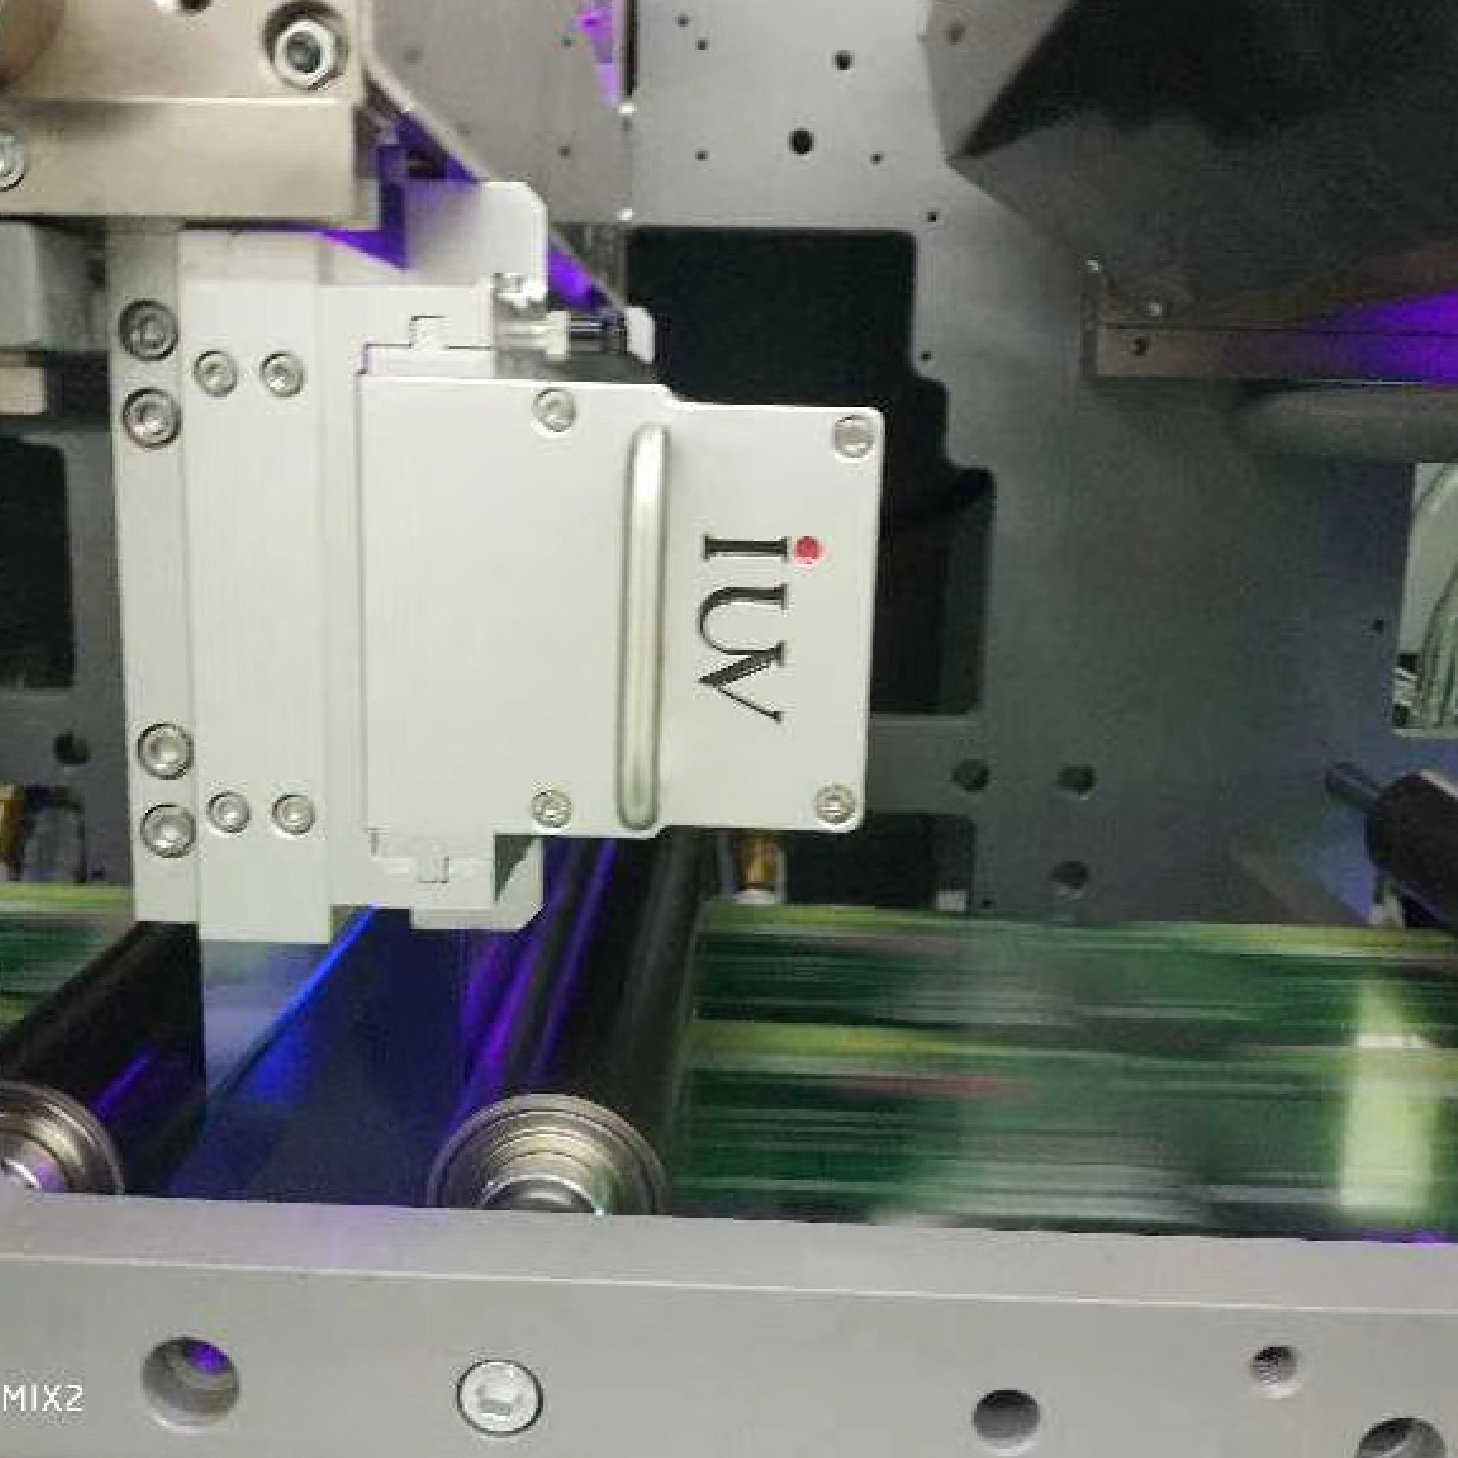
Each LED head should have a defined process function. An interstation lamp may pin an ink layer before the next flexographic unit. A final lamp after printing may complete cure before the web reaches the varnish or lamination station. A separate LED head may cure a UV varnish after coating. A UV-curable lamination adhesive, if used, may require its own validated exposure after the lamination nip.
These functions should not be combined without testing. A final-cure head located before a lamination station may be necessary for one material stack. Another construction may require a different sequence because the laminate adhesive needs a particular surface condition or because the laminate film changes access to the curing light.
The route map should also include all contact points after curing. A cured web may touch idlers, rollers, nip surfaces, die-cut components, and guide rolls before it is wound. A surface that is marginally cured can pick up marks at any of these positions.
UV Curing for Label Converting Requires a Defined Surface Condition
The phrase “fully cured” can hide several separate requirements. A printed ink film may need enough cohesion to resist rub and avoid transfer. The upper surface may need enough reactivity or surface energy for an overprint varnish or laminate adhesive to wet and bond correctly. The completed structure must also resist blocking in the rewind roll.
An ink layer that receives too little cure can smear, spread, or transfer into the varnish unit. It can also contaminate the laminating nip and create visible defects. An ink layer that receives excessive interstation cure may become less receptive to a later varnish or adhesive.
The correct surface condition depends on the next step. A print stack that will receive a protective UV varnish may need controlled pinning before the coating unit, followed by a robust final cure after varnish application. A printed surface that will be laminated directly must be validated with the selected adhesive and laminate film.
The LED recipe should therefore identify not only output and speed, but also the downstream process it supports. A recipe intended for a varnished label should not automatically be used for a directly laminated construction.
Match LED Wavelength to Ink, Varnish, and Adhesive Chemistry
LED-UV systems commonly operate at wavelengths such as 365 nm, 385 nm, 395 nm, or 405 nm. The selected wavelength must match the photoinitiator system in every material that will be cured under the lamp.
A flexographic ink may respond well at one wavelength while the overprint varnish requires a different response profile. A UV-curable lamination adhesive may add another requirement. The complete material stack should be reviewed before the lamp configuration is finalised.
Opaque white, dense black, metallic inks, high-opacity spot colours, and high-build varnishes require separate validation. Their pigment loading or film thickness can reduce the amount of usable light that reaches lower layers. A laminate film can also affect the available optical path if curing is intended after the nip.
The material suppliers should confirm compatibility with the selected LED wavelength and the expected exposure conditions. This review should include the facestock, ink set, varnish, laminate film, adhesive, and intended press speed. A lamp with high output cannot correct a poor chemistry match efficiently.
Separate Pinning, Final Ink Cure, and Varnish Cure
Interstation pinning helps control ink movement in multi-unit flexographic printing. It can improve dot definition, reduce intercolour contamination, and support clean register. The energy used for pinning is often lower than the energy required for final cure.
Applying full cure after every print unit can create unnecessary heat and may reduce the ability of an overprint varnish or laminate adhesive to bond to the printed surface. The press should use the minimum pinning level that provides stable print transfer and image control.
Final ink cure should be positioned before the web reaches a downstream station that requires a stable printed surface. The appropriate location depends on whether the next stage applies varnish directly over the ink, laminates the printed image, or performs another conversion operation.
A UV overprint varnish normally needs a dedicated final-cure condition after coating. The final LED head must deliver sufficient energy through the completed ink-and-varnish stack. The recipe should be based on the heaviest approved material combination, not only on a thin process-colour job.
Control Varnish Weight Before Increasing Lamp Output
Overprint varnish is commonly applied through a flexographic coating unit using an anilox roll. Coating weight is affected by anilox volume, cell condition, doctor blade condition, chamber pressure, varnish viscosity, and temperature.
A varnish layer that is too thick may require more energy for complete cure. It can show tackiness, blocking, weak scratch resistance, or gloss variation after the web enters the rewind section. A very thin varnish layer may cure easily but provide insufficient abrasion protection.
When varnish defects occur, the first check should be the applied coating weight. Raising LED output without verifying varnish transfer can create excess heat while leaving a thick film marginally cured below the surface.
The varnish should also be compatible with the planned lamination step. A varnished surface may provide the desired visual finish but may not be the intended bonding surface for every laminate adhesive. The converter should validate the exact sequence rather than assuming that all varnished labels can be laminated in the same way.
Validate Lamination Adhesion Against the Cured Print Stack
Lamination relies on a controlled bond between the printed label surface, the adhesive layer, and the laminate film. Incompatible cure conditions can affect that bond. An undercured print may migrate, transfer, or weaken the adhesive interface. An overcured or contaminated surface may reduce adhesive wetting and bond development.
The laminate adhesive system should be evaluated on the actual cured print stack. This includes the approved ink set, overprint varnish where present, substrate construction, LED wavelength, and final lamp recipe. Testing only on unprinted stock does not represent the commercial process.
The laminating nip introduces pressure, contact time, and sometimes heat. These conditions should be considered with web temperature and surface cure. A web that enters the nip too warm can alter adhesive flow, create edge squeeze-out, or contribute to distortion of thin film facestocks.
If a UV-curable lamination adhesive is used, its cure position requires separate validation. The selected LED wavelength and dose must reach the adhesive layer through the actual laminate structure. Film transmission, adhesive thickness, and the cured print below the adhesive can all influence the result.
Measure Irradiance and Dose at Each Critical Cure Stage
Irradiance is the optical power delivered to the web at a given moment. Energy dose is the total energy received during exposure. Both values should be measured at the substrate plane using an instrument suitable for the LED wavelength.
The lamp-to-web distance, press speed, illuminated length, and cross-web uniformity influence the actual dose. Measurements should be taken at the printed width, including edge lanes where critical graphics or dark solids may run.
The print cure, varnish cure, and adhesive cure may require different output targets. A common controller setting does not prove that each layer receives the correct exposure. The production recipe should identify the role of each lamp head and the approved speed range.
The energy requirement should be validated at commercial speed, not only during low-speed makeready. Acceleration, slowdown, inspection speed, and restart conditions can change the exposure time. A material stack that is marginal at high speed may not show a defect until after rewinding or lamination.
Manage Heat Before the Lamination Nip and Rewind
LED-UV systems reduce direct infrared exposure compared with many conventional UV sources. However, printed inks, dark solids, and varnishes still absorb optical energy. Multiple curing stages can raise web temperature before lamination and winding.
Heat-sensitive facestocks such as BOPP, PE, PP, PET, and shrinkable films require particular attention. Excess temperature can cause curl, tension variation, registration movement, laminate distortion, or changes in adhesive behaviour. The pressure-sensitive adhesive and release liner can also respond differently from the facestock.
Temperature should be measured after final cure, before the lamination nip, and before rewind. The test should use representative high-coverage artwork, active coating stations, normal press speed, and the intended nip and cooling settings.
If web temperature is excessive, the process should first review the cure sequence, wavelength compatibility, ink-film thickness, and varnish weight. Reducing unnecessary interstation exposure may lower the thermal load without reducing final-cure quality. Chill-roll performance and controlled web cooling may also be required.
Set Rewind Conditions for the Completed Cured Structure
The rewind station applies pressure to every completed layer. A tacky varnish, incomplete ink cure, weak laminate bond, or warm web can become a roll defect even when the surface looked acceptable before winding.
Blocking may appear as gloss marks, ink transfer, laminate distortion, or difficulty unwinding the finished roll. Telescoping, edge curl, and trapped tension may indicate that the web entered the rewind section above a stable temperature range or with unsuitable tension.
Rewind tension should be validated for each major material construction. A thin film label with a high-gloss varnish and laminate may require different tension control from a paper label with an unlaminated matte varnish. The approved recipe should record the web tension range, finished-roll conditions, and any required cooling distance before rewind.
The quality check should include samples taken from the inner and outer parts of the roll after a defined dwell period. This reveals defects caused by roll pressure that may not be visible during the press run.
Address Oxygen Inhibition and Surface-Cure Defects
Free-radical UV inks and varnishes can be affected by oxygen at the exposed surface. Oxygen inhibition can cause tackiness, poor scratch resistance, weak rub performance, and dust pickup. These symptoms can interfere with both lamination and rewinding.
The initial checks should be measurable. Confirm wavelength compatibility, output at the web plane, working distance, press speed, lamp-window cleanliness, ink-film thickness, and varnish weight. A contaminated lamp window can reduce delivered energy while the controller still reports normal operation.
A glossy varnish surface is not proof of complete cure. The varnish may remain weak beneath the surface, especially when the coating film is heavy. The finished material should be evaluated for rub resistance, adhesion, blocking resistance, laminate bond strength, and relevant end-use performance.
If surface inhibition remains after the process settings are confirmed, the varnish chemistry may need review. The alternative must remain compatible with the selected LED wavelength, the underlying ink, the lamination adhesive, and the label substrate.
Support Low-Migration and Sensitive Label Work
Low-migration applications require compatible inks, varnishes, adhesives, laminate films, substrates, and cleaning procedures. LED curing provides process control, but it does not establish compliance by itself.
The approved job record should identify the complete converting stack. It should include the ink set, varnish, laminate adhesive, film, facestock, LED wavelength, lamp recipes, coating anilox, press speed, lamination settings, and rewind conditions.
Operators should not compensate for a cure or lamination defect through undocumented changes to lamp output, coating weight, adhesive, or web speed. These changes can affect the validated material structure. Any adjustment should follow the documented quality process.
Traceability should connect the curing and laminating settings with the finished label roll. This information is important when a quality issue is identified after slitting, dispensing, or shipment.
Maintain Lamps, Nip Surfaces, and Web-Handling Components
Lamp windows should remain clean. Ink mist, varnish splash, dust, paper lint, and adhesive debris can reduce optical transmission and create uneven cure across the web. Local contamination can cause defects in one lane while the rest of the roll appears acceptable.
Cooling systems also require routine inspection. Air-cooled LED heads need clean filters and functional fans. Water-cooled systems need stable flow, suitable coolant condition, leak checks, and working alarms. Output variation can increase when module temperature is not controlled.
The lamination nip should be inspected for adhesive buildup, pressure variation, roller damage, and alignment. Guide rollers and rewind shafts should also be checked for contamination that can mark a marginally cured varnish or laminate surface.
Output measurements, coating checks, lamination adhesion tests, and rewind observations should be recorded by job. Trending these results helps identify gradual process drift before it creates rejected material.
Troubleshoot Defects by Their First Appearance
If ink transfers before varnish application, review interstation pinning, ink-film thickness, and web contact points. If tack appears after varnish cure, investigate coating weight, final dose, oxygen inhibition, and lamp-window condition.
If lamination bubbles or edge lift appear, check adhesive compatibility, web temperature at the nip, nip pressure, laminate tension, and the cure condition of the printed surface. If the issue appears only over dense solids, review the ink-film thickness and the final cure through that area.
If blocking occurs only after rewind, inspect final cure, web temperature, cooling distance, rewind tension, and roll diameter. If delamination appears after storage, compare bond development at different dwell times and inspect whether the adhesive interface was affected by the prior cure sequence.
A position-based diagnosis prevents the press team from treating every downstream defect as a lamp-power issue. It identifies the first process handoff where the material condition changed.
Conclusion
Reliable LED-UV curing for label converting depends on coordinated handoffs between print, varnish, lamination, and rewind stations. Each stage requires a specific surface condition, and a cure setting that supports one interface may not be suitable for the next.
Stable production uses compatible material chemistry, controlled ink and varnish film thickness, measured exposure at the web, defined lamp roles, managed web temperature, validated lamination conditions, and appropriate rewind tension. When these controls are documented as one converting recipe, the finished label roll can retain cure quality, laminate adhesion, and unwind performance.