In narrow web label production, UV cure behavior controls print speed, adhesion, and finished quality. Lamp positioning has major influence on cure uniformity, substrate stress, ink gloss, and adhesive performance. This guide consolidates practical engineering steps for flexo, plate-based label processes, and narrow web presses that use UV or LED curing.
Understand UV lamp types and spectral matching
Two lamp families dominate narrow web lines: medium-pressure mercury arc lamps and LED arrays. Mercury lamps emit broad-spectrum UV including UV-B and UV-C. They cure a wide range of photoinitiators but generate heat and ozone. LED emitters produce narrow-band UV-A, typically 365–405 nm. LED offers instant on/off control, lower heat and ozone, and longer lamp life. Match ink photoinitiators with the lamp spectrum. Many modern label and flexo UV inks use LED-optimized initiators at 385–405 nm. If ink uses legacy initiators optimized for broad-spectrum mercury, adjust the formulation or retain mercury lamps.
Key variables for positioning
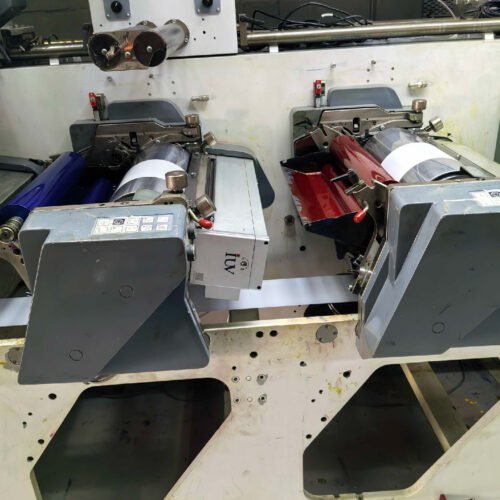
Four physical variables control cure performance from the lamp head: lamp-to-substrate distance, lamp angle relative to web, overlap between adjacent emitters, and lateral lamp placement across the web. Lamp-to-substrate distance affects irradiance exponentially. Doubling distance reduces irradiance by roughly four times for point-like sources. LED optics have collimation that maintains usable output at greater distances. Lamp angle changes how light penetrates ink layers and wraps around printed edges. Lateral placement and overlap ensure edge-to-edge uniformity, especially in narrow web widths where multiple LED modules form a bank.
Narrow web specifics: flexo and plate-printed labels
Label stocks often include thin films, coated papers, and pressure-sensitive adhesives. These substrates absorb heat differently from carton stocks. Flexo inks are deposited in variable film weights depending on anilox selection. Plate-based or letterpress labels can produce distinct wet-film thickness and dot structures. These differences require precise control of dose and peak irradiance. Excess surface irradiance can cure skin quickly yet leave bulk undercured if energy is too brief. Conversely, low irradiance at high line speed causes tacky surfaces and adhesive contamination in converting steps.
Positioning strategy for LED arrays
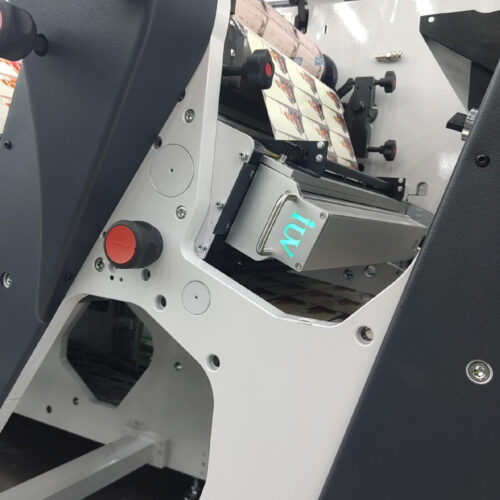
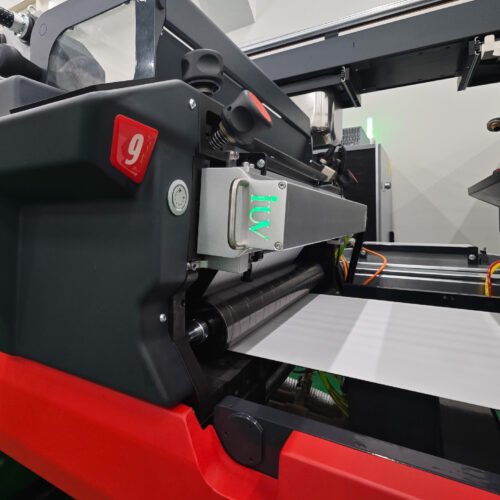
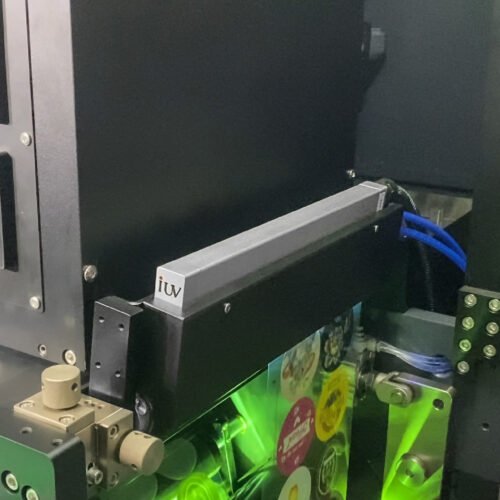
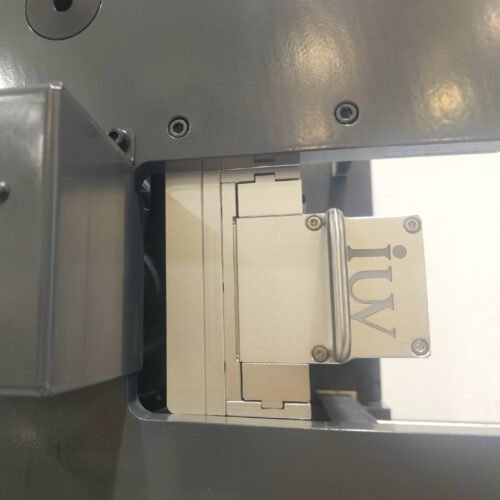
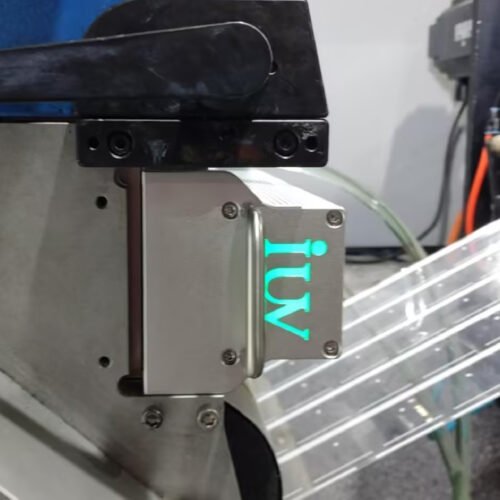
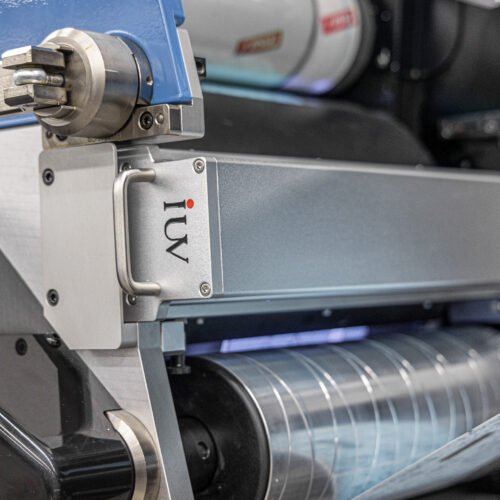
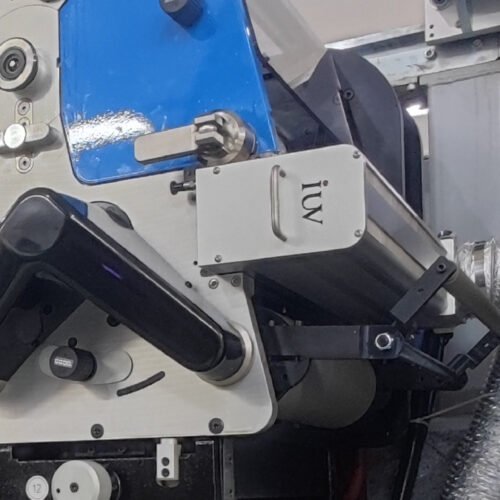
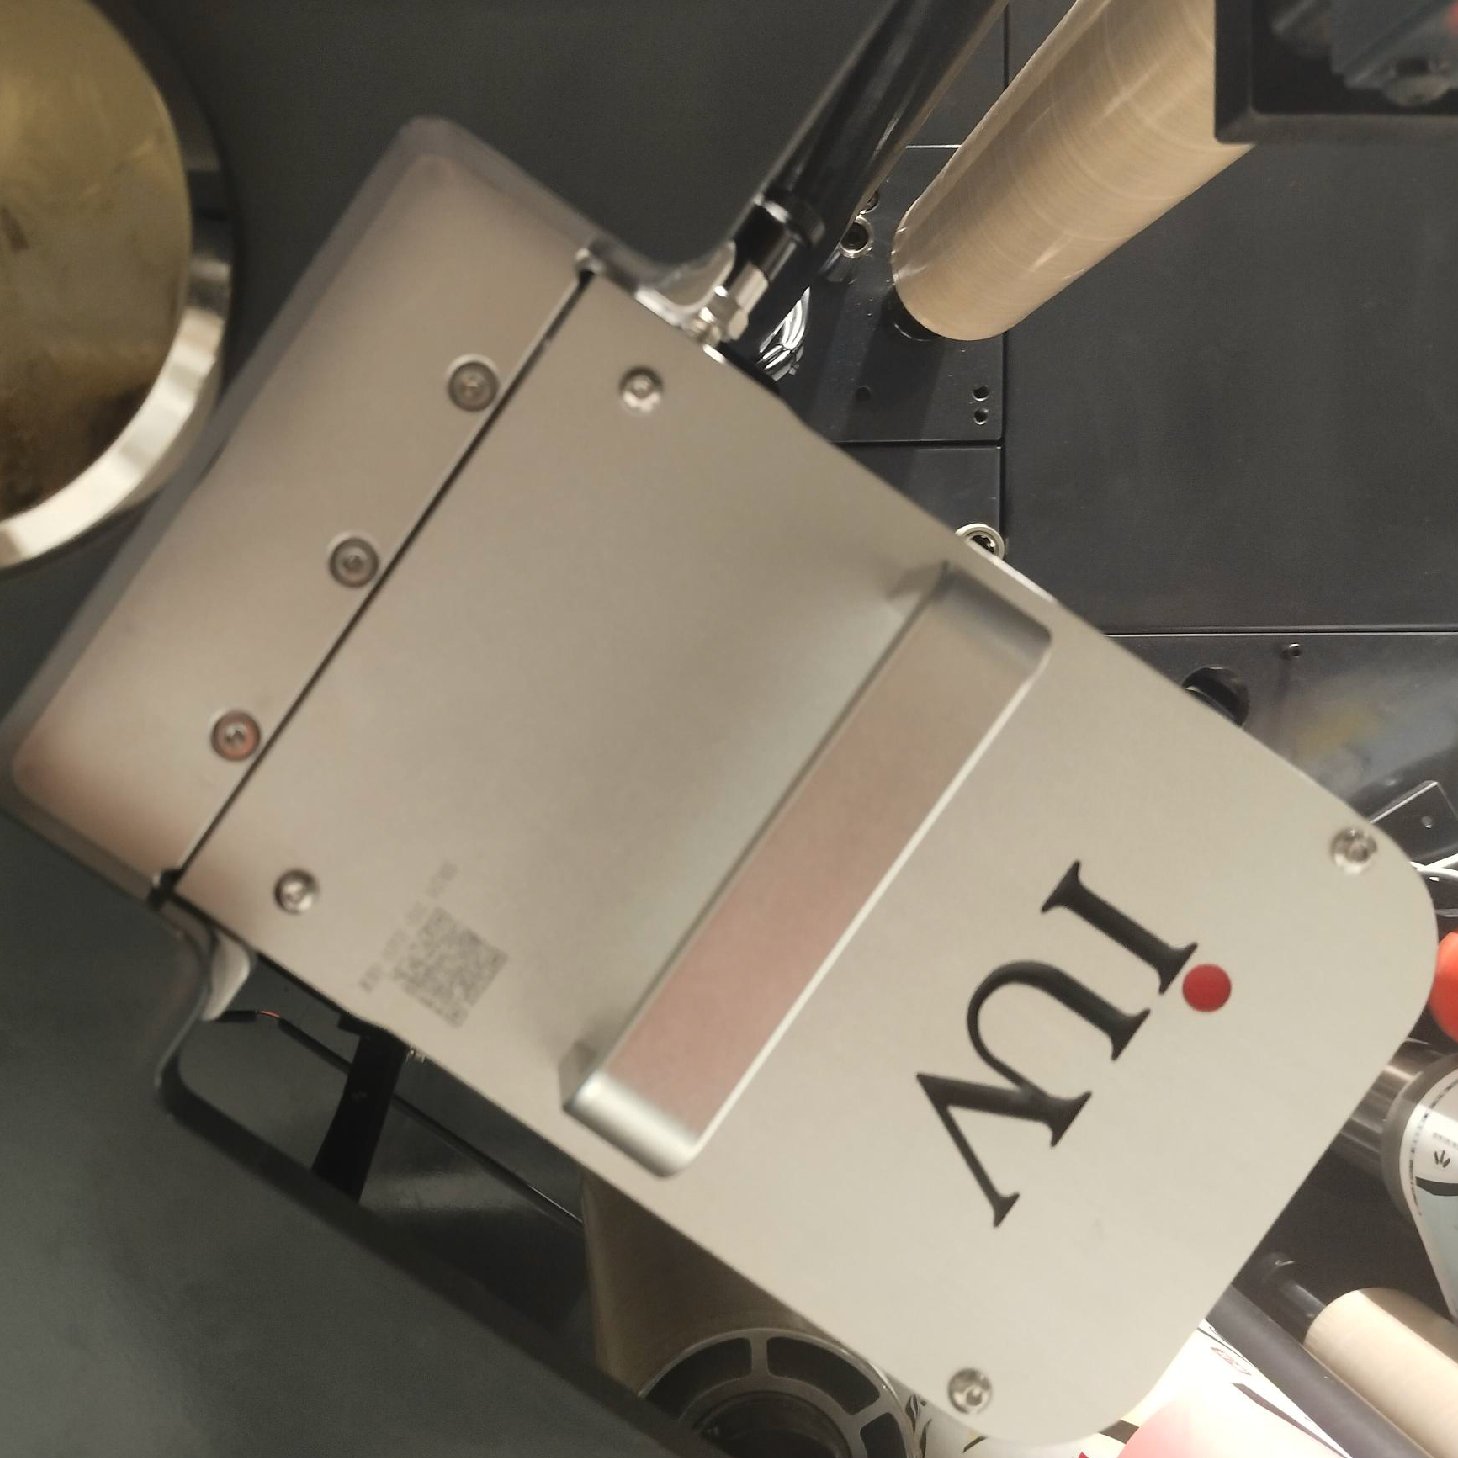
Place LED heads close enough to deliver required mJ/cm2 at the chosen line speed while avoiding localized overheating. For many narrow web lines, start with LED head heights between 6 and 20 mm from the top of the web. Consult the lamp manufacturer for recommended standoff and cooling requirements. Use overlap margins of 10–20 percent between adjacent modules to avoid striping. Angle LED arrays slightly downstream, 0–10 degrees, to increase cure depth while keeping surface temperature manageable for heat-sensitive labels. For reflective substrates or metallic inks, tilt angle to reduce specular reflection returning to LEDs and creating hotspots.
Positioning strategy for medium-pressure mercury lamps
Mercury lamps require reflectors and shield housings. The optimum lamp-to-web distance commonly sits between 30 and 100 mm, depending on reflector geometry and power. Angling mercury lamps can change the irradiance profile, so use adjustable mounts to tune the peak across the web width. Allow for ozone extraction and greater convective heat near the lamp. Use cooling rollers or chill drums when working with thin or heat-sensitive label materials.
Dose control and line speed integration
Cure is product of irradiance and time (dose = power × exposure time). Line speed, head intensity and distance set dose. Start with the ink supplier’s minimum mJ/cm2 recommendations as baseline. Measure delivered dose at press speed with a calibrated radiometer or dosimeter strip. Increase irradiance or reduce speed until surface tack and solvent extractables meet quality targets. Use segmented control or multi-zone head control to tune dose across repeatable job zones, especially with variable ink coverage or varnish areas.
Mechanical integration details that affect positioning
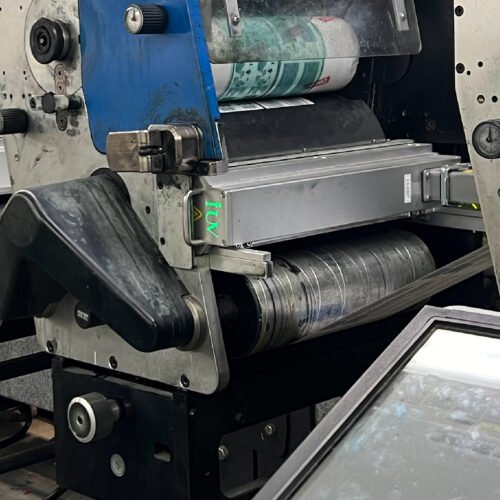
Web path geometry alters effective lamp exposure. Web wrap around chill drums or applicator rollers will move the substrate relative to the last lamp position and change dwell time under the lamp. Keep the curing lamp as the final major radiation source before the web reaches critical converting stations. Air knives and vacuum rolls placed between lamp heads and chill drums can reduce hot spots and stabilize the web. Ensure consistent web tension to avoid flutter and variable standoff. Use robust mounting with micrometer adjustments for height and angle so operators can set and lock head position reproducibly.
Thermal management and substrate handling
Heat management often governs how close lamps can be placed. Thin films and adhesives may distort or transfer at elevated temperatures. Use chilled rollers downstream of the lamp, integrate blowers or targeted cooling, and provide dwell cooling before any adhesive-facing components. For LED systems, maintain airflow across the LED modules as specified by the manufacturer. For mercury lamps, ensure sufficient air exchange and ozone extraction. Monitor substrate temperature with an IR thermometer during runs; set maximum allowable values for sensitive stocks.
Optical issues: reflection, shadowing, and edge cure
Metal inks, foils, and clear varnishes reflect UV differently. Reflections can cause local overcure and gloss variations. Shadowing occurs at high-relief plate features, die-cut edges, or label seams where radiation cannot reach. To minimize shadowing, use multiple smaller LED arrays at angled orientations to increase effective angular coverage. Consider using pre-heat or post-cure strategies for deep embankments or thick structural inks, such as a low-power secondary lamp positioned after the main head to finish bulk cure at reduced thermal load.
Monitoring and QA methods
Implement routine radiometer checks across the web width at operating speed. Use UV dosimeter strips for fast job setup verification. Periodically measure surface tack with a simple finger or tape test, and perform solvent rub tests to confirm bulk cure. Maintain records of lamp hours, current settings, and measured output. Correlate production defects with dose logs to find trends such as declining output and uneven module aging.
Maintenance and common failure modes
LED modules age gradually, losing peak output while maintaining spectrum. Replace modules in matched sets when uniformity falls outside tolerances. Clean optical covers regularly. Even thin contamination films degrade irradiance and cause streaks. For mercury systems, replace bulbs at recommended hours and maintain reflector condition. Misaligned lamps produce banding and edge defects. Use manufacturer torque specifications on mounting hardware and verify alignment after any maintenance or press changeover.
Troubleshooting checklist
- Low cure or tacky labels: verify dose with radiometer, check line speed and ink photoinitiator compatibility.
- Banding across the web: inspect module overlap, replace failing LED segments, or realign mercury lamp reflectors.
- Adhesive migration or blocking: reduce thermal load, increase chill capacity, or lower irradiance with extended exposure time.
- Edge undercure near die cuts: add angled LED modules or a secondary low-power lamp for bulk cure.
- Color shift or gloss variations: test different lamp angles and reduce localized overcuring from reflection.
Quick setup protocol for a new job
- Confirm ink photoinitiator compatibility with lamp spectrum.
- Set initial lamp height using manufacturer baseline for the substrate.
- Run a short test strip at intended line speed.
- Measure dose across the web and adjust height, angle, or overlap to equalize.
- Check surface tack, solvent rub, and gloss.
- Freeze lamp mounts after adjustments and log settings for future runs.
Conclusion
Optimizing lamp positioning on narrow web label presses combines optical alignment, thermal control, and chemistry matching. Start with the right lamp type for the ink, then tune distance, angle, and overlap for uniform irradiance. Integrate mechanical and cooling solutions to protect thin substrates and adhesives. Regular monitoring, simple dosimetry, and precise mechanical mounts deliver reproducible cure performance and higher uptime on flexo and plate-based label lines.