Abstract
Premium paper labels often combine textured, uncoated, natural-white, or bright-white face stocks with high-gloss UV overprint varnishes. Mercury UV lamps provide fast curing and broad spectral output, but they can also introduce ultraviolet exposure, infrared heat, and local temperature rises that affect paper appearance. Yellowing may appear immediately, after rewinding, or after storage. It may result from the paper, optical brighteners, coating chemistry, lamp spectrum, heat accumulation, or an imbalance between cure dose and varnish laydown. This article explains how label converters can maintain high-gloss coating performance while controlling paper colour change. It covers material selection, lamp setup, cooling, curing sequence, quality testing, and troubleshooting for narrow-web production.
Introduction
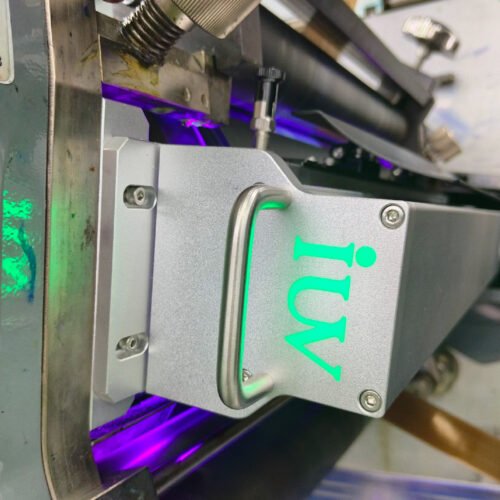
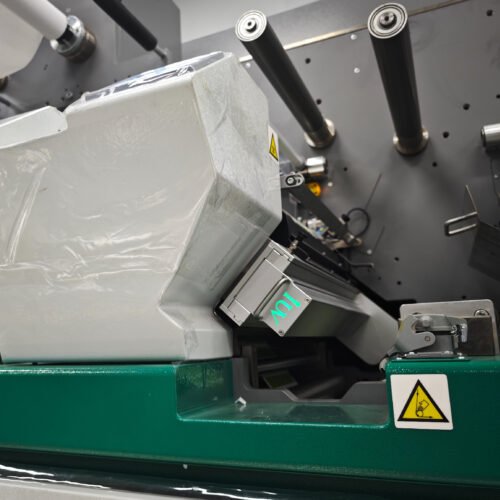
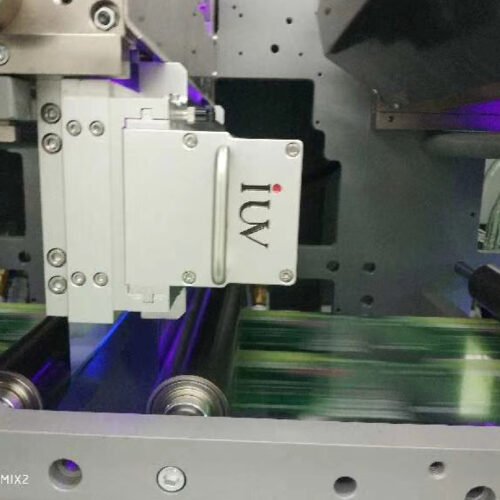
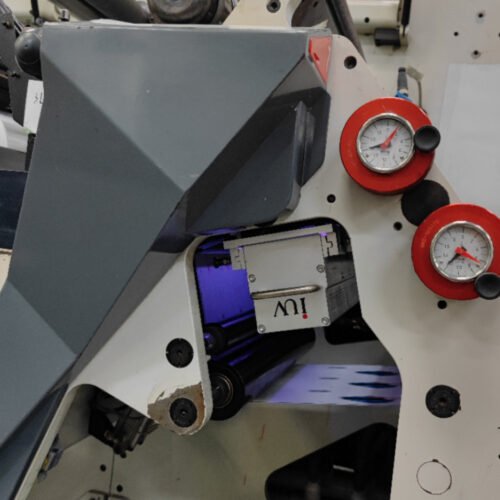
The search intent behind “UV Mercury Curing for Premium Paper Labels” is technical and preventive. Label converters want to preserve the appearance of high-value paper stocks while applying a fully cured gloss coating. OEM engineers need guidance for configuring mercury UV dryer positions, cooling paths, shielding, and control logic on narrow-web presses.
Paper yellowing is rarely caused by one setting alone. A premium paper can contain optical brighteners, natural fibers, sizing agents, primers, or coatings that respond differently to ultraviolet radiation and heat. A high-gloss varnish may also require a heavier coating weight than a standard protective varnish. The combined thermal and optical load can change the visual tone of the label.
The correct target is not the highest available lamp power. It is a stable cure window that delivers adhesion, gloss, and rub resistance while holding paper colour within the approved tolerance. This requires a controlled relationship between lamp output, web speed, varnish thickness, paper moisture, and cooling conditions.
Identify the Paper Construction Before Production
Start by documenting the face stock in detail. Record paper grade, basis weight, texture, shade, coating type, primer, moisture condition, optical brightener content where available, and whether the stock contains recycled fiber. A smooth bright-white paper may behave differently from a warm-white uncoated wine-label paper, even when both have the same basis weight.
Premium papers often have a narrow visual acceptance range. Slight yellowing may be obvious next to a white background, metallic foil, or pale artwork. The process qualification should therefore use approved colour targets rather than relying on a general statement such as “no visible change.”
Check whether the material is supplied as a pressure-sensitive construction. The face paper, adhesive, and release liner can each react to heat. Excessive lamp temperature may affect adhesive flow, liner flatness, or unwind behavior before a colour change becomes visible on the printed face.
Understand How Mercury UV Dryers Affect Paper Colour
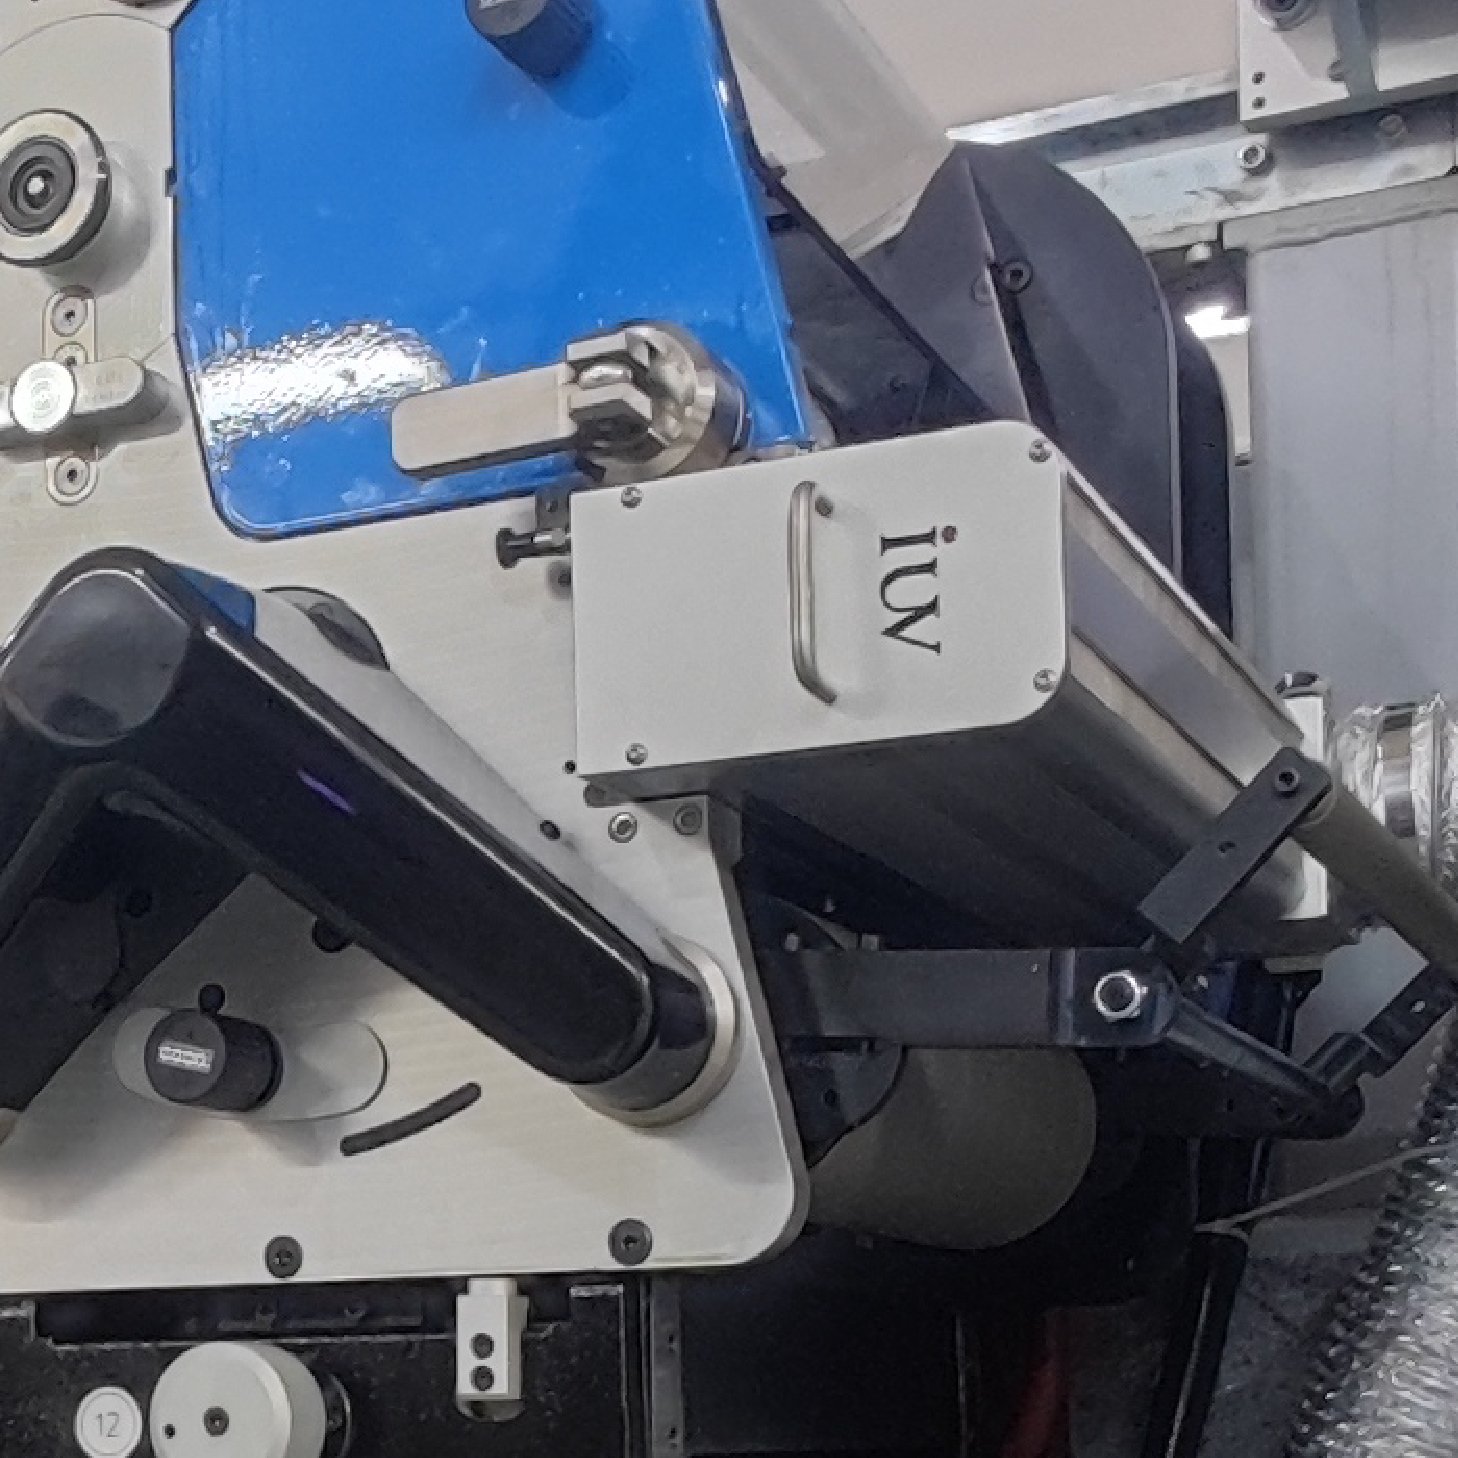
Mercury UV lamps emit ultraviolet, visible, and infrared energy. The ultraviolet component initiates polymerization in the ink and varnish. Infrared energy and convective heat can raise the web temperature. Reflected energy inside the lamp housing can also increase exposure at the paper surface.
Paper yellowing can result from direct optical exposure, heat exposure, or both. Some papers are more sensitive to ultraviolet light because of their fiber composition or brightening additives. Others show a colour shift mainly after the sheet or web reaches an elevated temperature. The defect may become more obvious after cooling because the surface gloss changes at the same time.
Do not assume that a short exposure eliminates the risk. A narrow-web press can send the label stock through several UV stations, especially when opaque ink, spot colour, varnish, and adhesive coating are used. The total energy from multiple stations may be more important than the output of one lamp.
Match the Ink and Varnish System to the Lamp
The ink, overprint varnish, and mercury lamp must be specified as one curing system. Confirm that the selected varnish is formulated for mercury UV output and for the intended paper surface. A varnish that cures well on a coated film may not wet or anchor in the same way on absorbent paper.
High-gloss varnishes often create a heavier wet coating film. More coating can improve visual gloss, but it can also demand more UV dose. If the lower portion of the varnish remains under-cured, the surface may appear glossy while later showing blocking, odor, scuffing, or adhesion loss.
Review the sequence of ink and varnish application. A dense solid ink under a full gloss coat can reduce the energy reaching lower layers. Interstation cure may stabilize opaque ink before the varnish unit. Final cure then completes the varnish structure. The correct arrangement depends on ink coverage, anilox volume, and press speed.
Control Varnish Laydown With the Anilox
Anilox volume is a direct lever for controlling gloss, coating thickness, and cure demand. A higher-volume anilox can deposit enough varnish to create an attractive finish, yet it can also increase the energy needed for full through-cure. Increasing lamp power without controlling laydown can overheat the paper while leaving the coating structure inconsistent.
Establish an approved anilox range for each varnish and paper combination. Check cell condition, doctor-blade pressure, viscosity, temperature, and coating uniformity. A worn anilox or unstable coating supply can create local heavy areas that need more energy and can appear as uneven gloss or yellowing.
Measure gloss and colour together. A higher gloss value does not prove that the paper remains unchanged. A varnish can alter how the paper reflects light, making a small substrate colour shift appear larger to the eye.
Measure UV Output and Total Dose at the Web
Lamp controller settings are not a direct measure of delivered energy. Measure irradiance at the actual web plane after the lamps have reached stable operating conditions. Take readings across the web width, including both edges. Record lamp age, reflector condition, working distance, and press speed.
Dose is determined by irradiance and exposure time. At higher speed, exposure time falls. Raising lamp power may restore cure, but it can also increase heat load. The production recipe should define approved lamp settings and speed limits for each varnish and paper grade.
Cross-web output checks are important for premium labels. A reflector defect, quartz-window deposit, or lamp misalignment can create a high-energy band. That band may produce yellowing in one portion of the web while the rest of the label appears acceptable.
Manage Web Temperature and Moisture
Paper temperature should be measured before curing, after each demanding UV station, and before rewind. Use repeatable measurement points across the web. Record temperature after the press reaches steady production conditions, not only at start-up.
Paper moisture can influence dimensional stability and colour appearance. If the web becomes too warm, moisture distribution can change. The result may be curl, edge wave, tension variation, registration movement, or a shift in visual shade. Textured and uncoated papers can show these changes more clearly than heavily coated stocks.
Use cooling rolls, controlled air, and adequate exhaust to remove heat after the lamp. The cooling path should reduce web temperature without scuffing the fresh varnish. Avoid excessive contact pressure on a surface that has not reached sufficient cure, because it can mark the gloss or create blocking.
Inspect Lamp Housing, Reflectors, and Exhaust
Optical and thermal maintenance has a direct effect on yellowing control. Dirty reflectors and quartz windows can reduce useful UV output while changing the heat pattern inside the housing. Operators may respond by increasing lamp power, which can increase paper exposure without restoring uniform cure.
Inspect reflectors for contamination, discoloration, damage, and alignment. Clean quartz windows with approved materials. Check filters, cooling fans, exhaust ducts, and air intakes. Restricted airflow can raise lamp-housing temperature and change the balance between UV delivery and heat rejection.
Verify the lamp-to-web distance after mechanical service. A change in distance affects both irradiance and local heating. Protect the approved geometry with position stops or documented setup checks where the press design allows it.
Consider Optical Brighteners and Natural Paper Shades
Optical brighteners can make paper appear whiter by altering visible light response. Their appearance may change under UV exposure or after thermal stress. A paper that looks bright blue-white before printing may appear creamier after a high-dose curing sequence.
Natural, ivory, cream, and recycled papers require a different visual standard. Yellowing is not always a shift toward a stronger yellow tone. It can also appear as loss of brightness, reduced contrast, uneven shade, or a change between the printed and unprinted areas.
Use a control sample stored away from UV exposure. Compare printed material against the control under the same viewing condition. This separates actual paper change from the visual effect of a gloss coating or printed colour.
Test Colour Before and After Conditioning
A reliable quality plan should include immediate and delayed assessment. Inspect samples immediately after curing for gloss, tack, register, and visual colour. Then condition samples for a defined period before repeating the assessment. Some colour changes become clearer after the web cools or after residual heat moves through the roll.
Use an instrument-based colour method when the product requires a controlled shade. Measure the same defined area on every sample and compare it with the approved standard. Record the light source, viewing geometry, and substrate orientation. Paper texture can affect readings, so use the same sampling method for all trials.
Visual review remains essential for premium labels. Inspect under the lighting condition relevant to the brand owner, retail environment, or packaging line. A small numerical change may be acceptable on a textured natural stock, while the same change may be unacceptable on a bright-white cosmetic label.
Validate Adhesion, Rub, and Rewind Performance
A lower lamp setting may reduce yellowing but can create a cure problem. Qualification must therefore include tape adhesion, rub resistance, blocking, varnish gloss, and rewind performance. Test the printed and varnished structure after cooling and after conditioning.
Check whether the varnish lifts from the ink, whether the ink lifts from the paper, or whether fibers are pulled from the paper surface. These failure modes require different corrective actions. Increasing dose may help under-cure but can worsen paper yellowing. A coating-weight adjustment or varnish reformulation may provide a better solution.
Evaluate finished rolls under normal rewind tension. Warm or insufficiently cured varnish can block in the roll. Excessive tension can add pressure marks to a high-gloss surface. The accepted process must pass both laboratory adhesion checks and real converting conditions.
Troubleshoot Yellowing by Pattern and Timing
Yellowing across the full web after one UV station suggests excessive total exposure, high web temperature, or an incompatible paper-and-varnish combination. Yellowing that appears only under dense varnish areas may indicate heavy laydown, insufficient through-cure, or heat retained by the coating film.
A narrow yellow band often points to uneven irradiance, reflector damage, quartz contamination, or non-uniform cooling. Yellowing near the web edges may result from edge reflection, poor cooling-roll contact, or an uneven exhaust pattern.
If the paper looks normal at the press but changes after rewind, check web temperature before the rewind station, roll diameter, tension, and dwell time. Heat retained in a tightly wound roll can continue to affect paper appearance after the web leaves the lamp zone.
Establish Stable Job Recipes and Maintenance Records
Create job recipes that combine lamp power, press speed, anilox specification, varnish type, cooling settings, and approved colour limits. Recipes should define the stable operating window, not only a single target value. This gives operators room to respond to normal production variation without crossing into a yellowing risk.
Track lamp hours, irradiance measurements, reflector cleaning, filter service, exhaust performance, and cooling-roll conditions. A gradual change in lamp output can lead to repeated power increases. Without maintenance records, the press may drift into a high-heat operating condition without an obvious alarm.
Keep retained samples from approved runs. They provide a useful reference when a paper supplier, varnish batch, lamp, or press condition changes. Comparing new work with retained material helps identify whether yellowing begins with the substrate, coating, or curing process.
Conclusion
High-gloss UV varnish and premium paper labels can run successfully with mercury UV curing when the process controls both cure energy and paper temperature. The most reliable approach begins with the face-stock construction, then matches varnish chemistry, anilox laydown, lamp output, cooling, and web handling to that material.
Paper yellowing should be assessed as a combined optical and thermal effect. Measuring irradiance, web temperature, gloss, colour, adhesion, and rewind performance gives converters a complete process picture. A controlled cure window protects the premium appearance of the paper without sacrificing varnish durability or production speed.