In high-end label and narrow-web printing, achieving a perfect “heavy solid” is a benchmark of quality. Whether you are running a flexo press or a dry offset line, heavy ink coverage presents a unique challenge: the surface looks dry, but the bottom layer remains liquid. This leads to poor adhesion, ink pick-off, or “scuffing” during finishing. Mastering UV curing for these dense areas requires a mix of chemistry, physics, and mechanical precision.
The Challenge of Depth of Cure in Heavy Solids
Heavy solids contain high pigment loads. These pigments, especially Carbon Black or Opaque White, act as a shield. They absorb or reflect UV light before it can reach the bottom of the ink film. If the photoinitiators at the substrate level do not receive enough UV energy, the ink will not anchor. This results in “delamination” where the ink film can be easily scratched off with a fingernail.
In narrow-web label printing, we often see this issue when printers try to achieve deep, brand-specific colors. To get that “pop,” they increase the ink volume. However, without adjusting the curing parameters, the UV dose becomes insufficient for the increased film thickness.
Step 1: Optimize Your Ink and Chemistry
Before touching the press settings, look at the ink. High-density inks for heavy solids need specific photoinitiator packages.
- Pigment Loading: Ensure your ink supplier has formulated the ink for “depth of cure.” Some inks use long-wave photoinitiators that respond better to LED UV (395nm) to penetrate deeper.
- Viscosity Control: In flexographic printing, ink that is too thick will transfer unevenly. Maintain a stable viscosity to ensure the anilox delivers a consistent film.
- The Role of Photoinitiators: These chemicals catch UV light and start the hardening reaction. For heavy solids, you need a balance of surface-cure initiators and through-cure initiators.
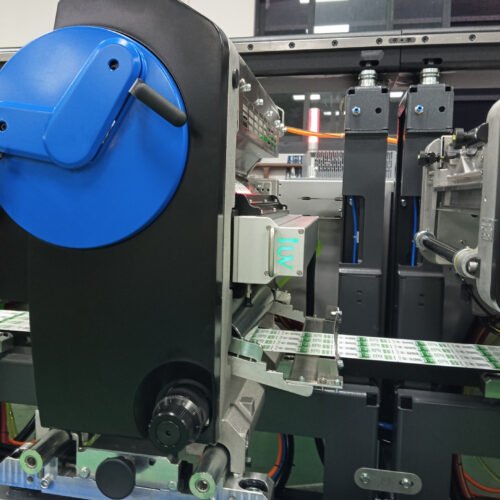
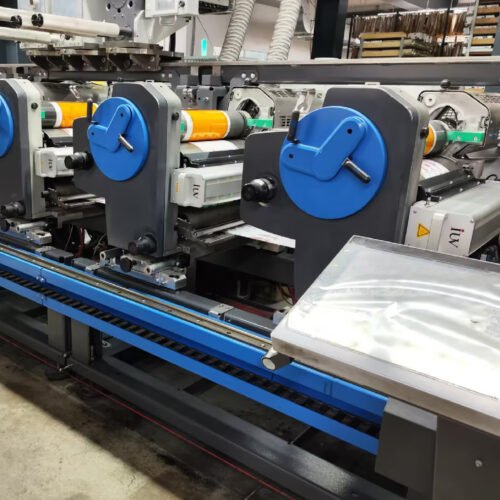
Step 2: Selecting the Right Anilox and Transfer Method
In flexo and narrow-web applications, your anilox roll is the heart of the process. For heavy solids, many operators mistakenly choose the highest BCM (Billion Cubic Microns) available.
While a high BCM delivers more ink, it also creates a thicker barrier for UV light. Instead of just increasing volume, consider a “structured” cell pattern or an elongated cell. These designs help the ink lay down flatter and smoother. A smooth, thin, high-pigment layer cures much more effectively than a thick, textured layer of the same color density.
For offset printing, ensure your fountain solution and ink-water balance are dialed in. Excess water can emulsify the ink, creating “micro-bubbles” that scatter UV light and hinder the curing process in heavy solid areas.
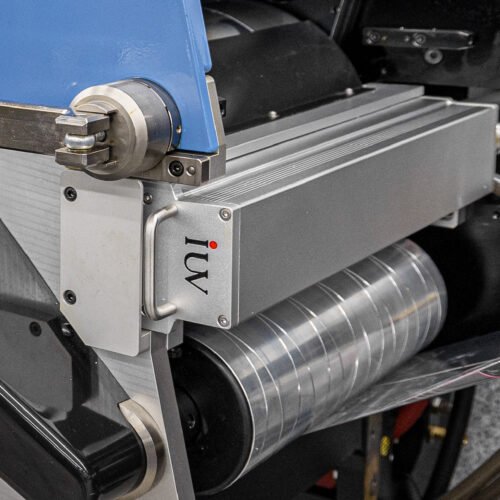
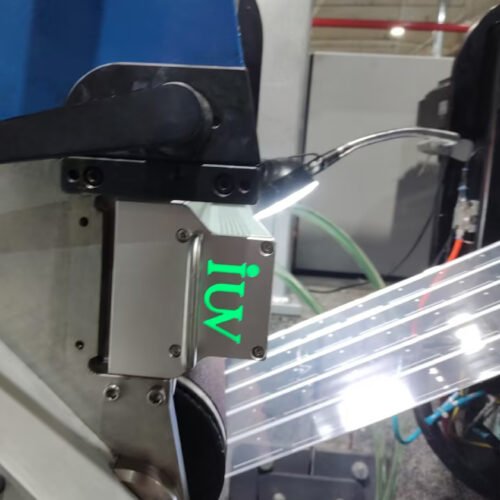
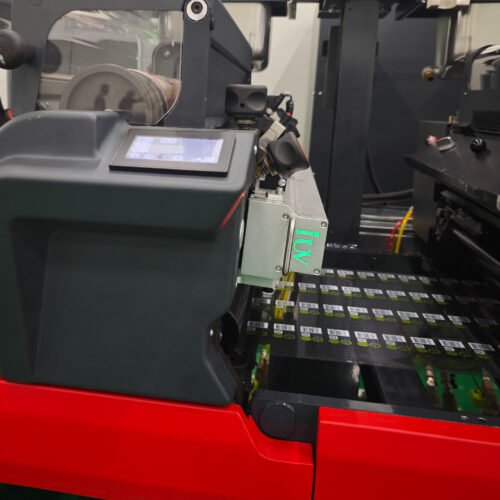
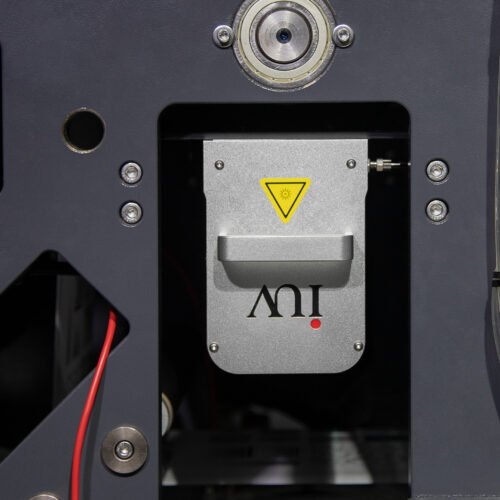
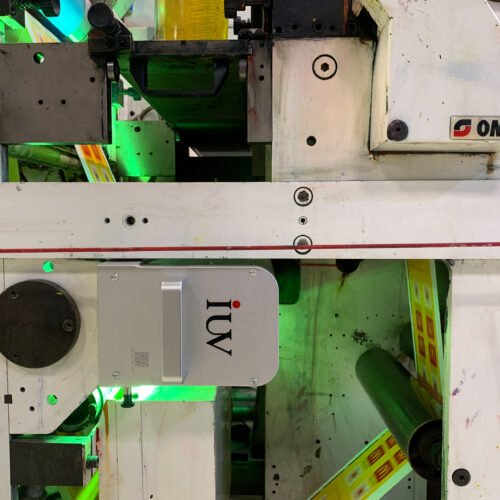
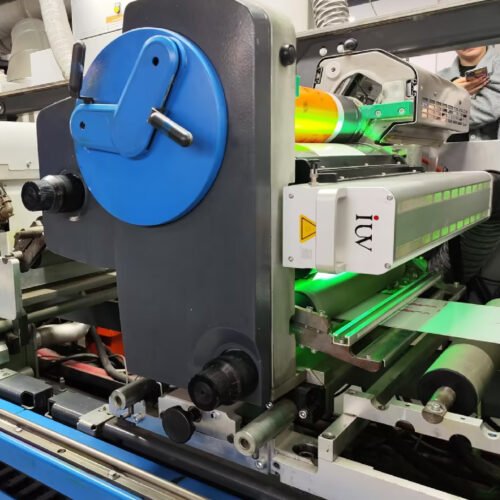
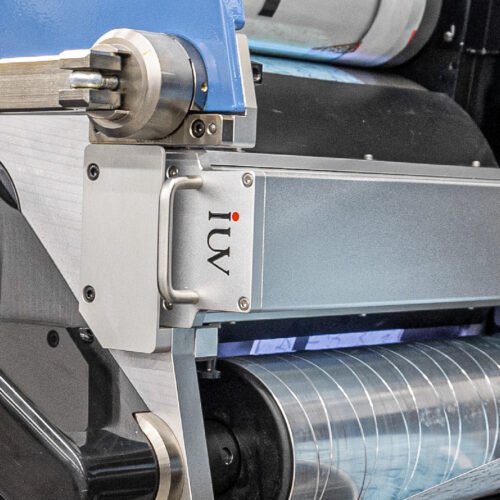
Step 3: LED UV vs. Mercury Vapor Systems
The technology you use determines your strategy. Conventional Mercury lamps emit a broad spectrum of UV light. This is great for surface cure but often struggles with very thick, dark solids.
LED UV curing systems, typically operating at 395nm, offer a distinct advantage for heavy solids. This longer wavelength penetrates deeper into the ink film. If you are running a hybrid press, using LED for the heavy solid stations and Mercury for the coatings is a common, effective setup.
When using LED, the “peak irradiance” (the brightness of the light) is critical. Higher irradiance allows the UV photons to “push” through the pigment layers. Ensure your LED heads are clean and the water-cooling system is maintaining a stable temperature to prevent power drops.
Step 4: Measuring UV Dose and Irradiance
You cannot control what you do not measure. For heavy solid areas, you need to track two specific metrics:
- Peak Irradiance (mW/cm²): This measures how “strong” the light is at the surface. High irradiance is necessary to initiate the reaction in dense pigments.
- Energy Density or Dose (mJ/cm²): This measures the total amount of UV energy the ink receives. This is a function of the lamp power and the press speed.
Use a UV radiometer (like a “Power Puck”) regularly. For heavy solids, you might need a dose that is 20-30% higher than what you use for fine text or halftones. If the radiometer shows a drop in output, it is time to check lamp hours or clean the quartz windows.
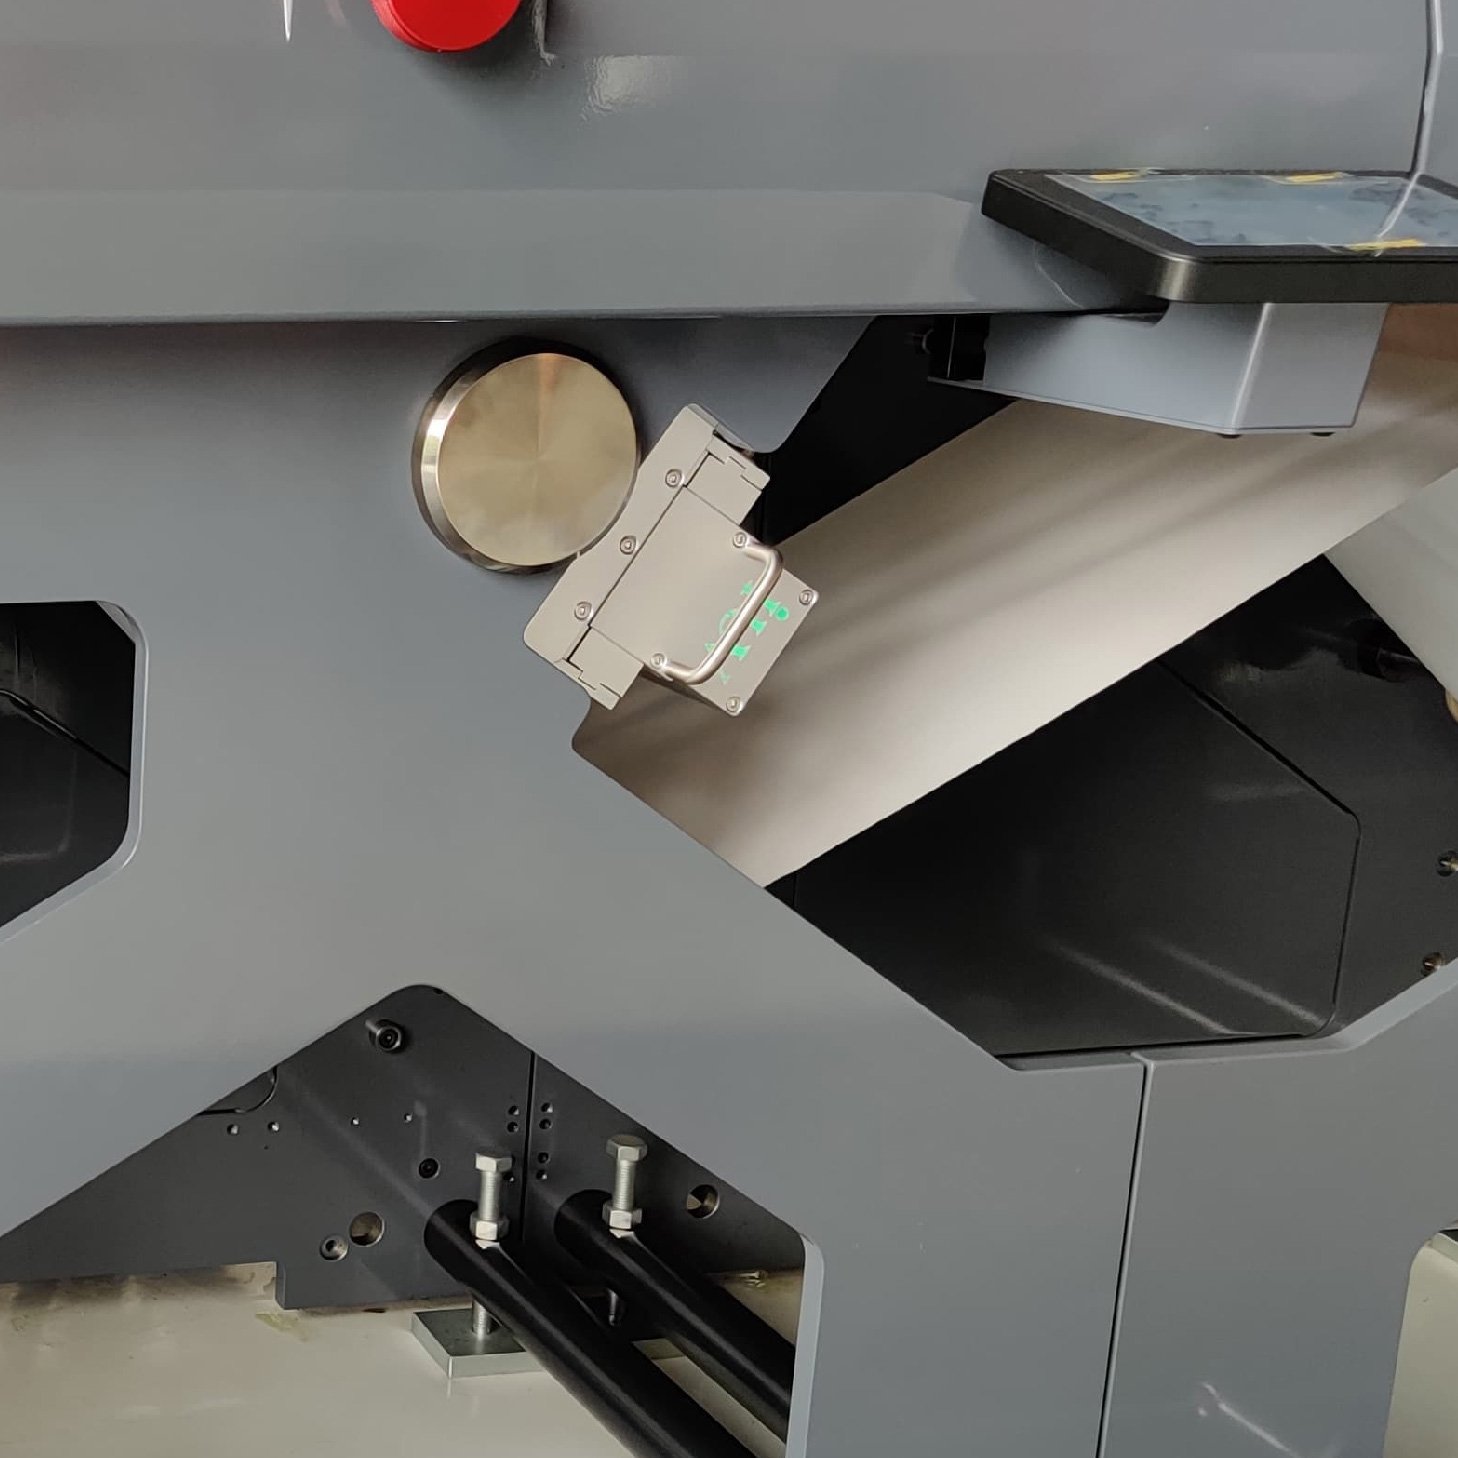
Step 5: Mechanical Calibration and Press Speed
The distance between the UV lamp and the substrate is a major factor. In narrow-web printing, even a 5mm change in distance can significantly reduce the UV intensity reaching the ink.
- Focal Point: If using Mercury lamps, ensure the reflectors are focused directly on the substrate. Out-of-focus lamps waste energy.
- Web Speed: If you see curing failure on heavy solids, the first instinct is to slow down the press. This increases the “dwell time” under the UV light, raising the total dose.
- Nitrogen Inerting: In extreme cases of heavy solids (especially in high-end flexible packaging), nitrogen inerting is used. By removing oxygen from the curing zone, you eliminate oxygen inhibition. This allows the ink to cure much faster and more deeply with less energy.
Step 6: The “Thumb Twist” and Adhesion Testing
Validation is the final step in the tutorial. You must verify that the heavy solid is cured through to the bottom.
- The Thumb Twist Test: Press your thumb firmly on the solid area and twist. If the surface smears or “skins” over a liquid base, your through-cure is failing.
- Tape Test (ASTM D3359): Use a standardized tape (like 3M 610) to check adhesion. For heavy solids, perform this test immediately after curing and again after 24 hours, as some UV inks continue to cross-link after the initial exposure.
- Sutherland Rub Test: This tests the durability of the cured solid against abrasion, which is vital for labels that will be shipped or handled frequently.
Step 7: Managing Heat and Substrate Stability
Heavy solids require more UV energy, and more energy usually means more heat. In narrow-web and label printing, many substrates are heat-sensitive (like PE or thin PP films).
Excessive heat can cause the substrate to stretch or “cockle,” leading to registration issues. To prevent this:
- Use chilled rollers (chill drums) to pull heat away from the web.
- Use dichroic reflectors in Mercury systems to bounce UV light while absorbing IR (heat) energy.
- Switch to LED UV, which produces significantly less heat on the substrate surface compared to traditional lamps.
Troubleshooting Common Curing Failures
If you encounter “orange peel” textures in your solids, it often indicates the surface cured too fast, shrinking over a liquid base. To fix this, try to increase the “through-cure” by using a lower-frequency lamp or adjusting the photoinitiator balance.
If the ink is “tacky” to the touch, this is likely oxygen inhibition. Increase the lamp intensity or check if the lamps are reaching the end of their lifespan. For narrow-web operators, keeping a log of lamp hours for each station is a best practice that prevents sudden quality drops on heavy solid runs.
Maintenance for Consistent Results
Consistency in heavy solid curing depends on the health of your equipment.
- Reflector Cleaning: For Mercury systems, reflectors should be wiped down weekly. Dust and ink mist reduce UV output by up to 40%.
- LED Array Inspection: Check for “dead” diodes. If a section of the LED bar is out, you will see a “streak” of uncured ink in your solid area.
- Air Filters: Ensure the cooling fans are pulling clean air. Overheated lamps or LED power supplies will automatically throttle their output to protect the hardware, leading to under-cured solids.
Technical Summary for Operators
Controlling UV curing for heavy solids is not about “maxing out” the power. It is about balancing the chemistry of the ink with the physics of the light. By selecting the right anilox volume, monitoring both irradiance and dose, and choosing the appropriate lamp technology, you can produce deep, rich solids that are fully cured and highly durable.
In the competitive world of label and narrow-web printing, the ability to run heavy solids at high speeds without quality issues is a major competitive advantage. Regular testing and a data-driven approach to UV settings will ensure that every roll leaving your press meets the highest standards of adhesion and finish.