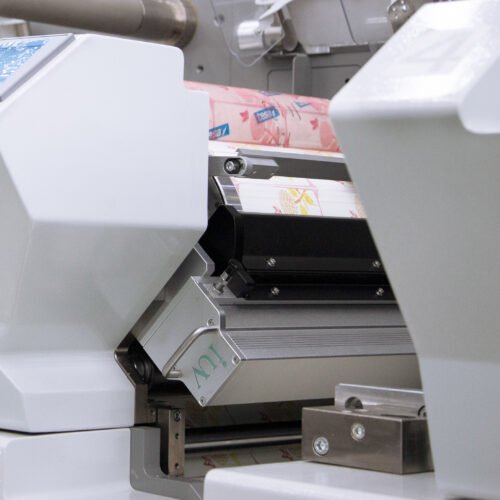
Step-by-Step Guide to Setting Up a UV Curing System on Your Press
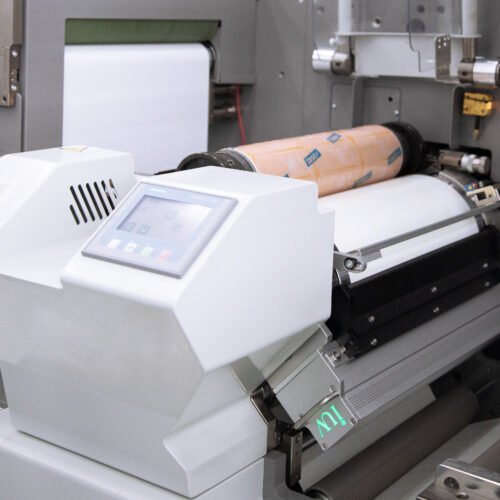
UV curing systems have transformed label, flexographic, offset, and narrow web printing by accelerating production speeds while improving print quality. Whether upgrading existing equipment or integrating LED UV technology for the first time, proper setup ensures optimal performance. Follow this technical guide to configure your UV curing system efficiently.
1. Assess Compatibility With Your Press
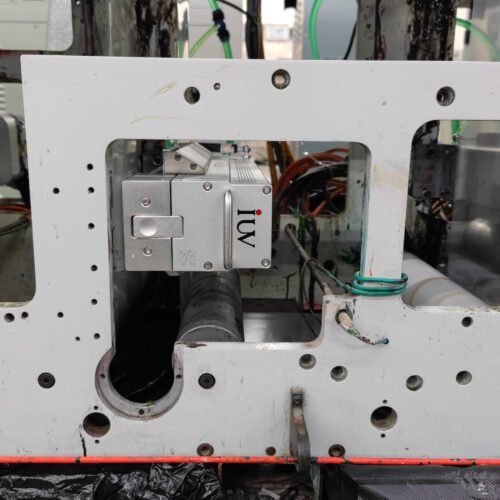
Begin by verifying your press’s mechanical and electrical compatibility with UV curing systems. For narrow web and flexo presses, check:
- Available space for UV lamp/LED array installation
- Power supply capacity (LED systems require less energy than traditional mercury lamps)
- Substrate limitations (e.g., heat-sensitive materials may need low-temperature LED units)
- Ink type compatibility (ensure UV inks match your curing system’s wavelength)
Label printers using hybrid presses should confirm synchronization between existing drying systems and new UV modules.
2. Select the Right UV Technology
Choose between mercury arc lamps and LED UV systems based on your applications:
- LED UV: Ideal for label and narrow web printing. Offers instant on/off, reduced heat output, and compatibility with thin films. Requires 365-405 nm wavelengths for curing acrylate-based inks.
- Mercury lamps: Suitable for thicker coatings in offset printing. Emit broader UV spectra (200-450 nm) but generate significant heat.
For sheetfed offset printers, LED arrays with adjustable intensity help prevent paper warping.
3. Install Cooling and Exhaust Systems
UV lamps—especially mercury-based systems—generate heat that affects print registration and substrate integrity. Install:
- Air-cooled reflectors (for low-to-medium power lamps)
- Water-cooled housings (for high-power systems in wide-web presses)
- Fume extraction units to remove ozone produced by mercury lamps
LED systems minimize heat but still require basic ventilation to prolong diode lifespan.
4. Position Lamps for Maximum Efficiency
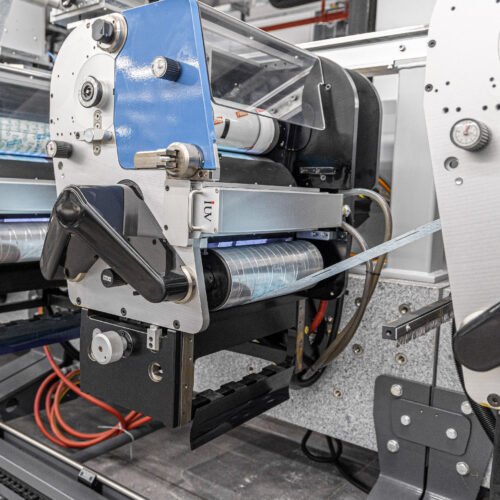
Mount UV lamps at a 4-8 inch distance from substrates, adjusting based on:
- Substrate thickness (closer for opaque materials; farther for heat-sensitive films)
- Line speed (higher speeds require stronger irradiance)
- Ink/coating opacity (metallic inks need longer exposure)
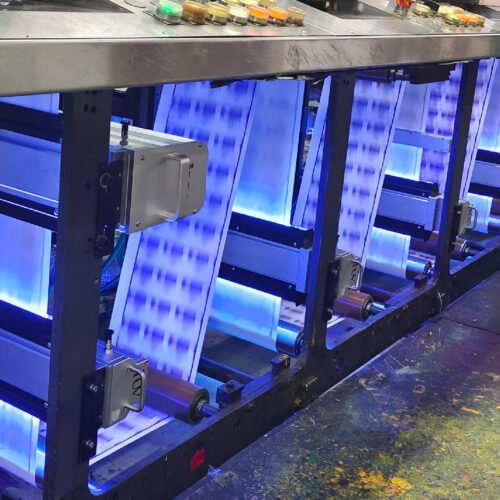
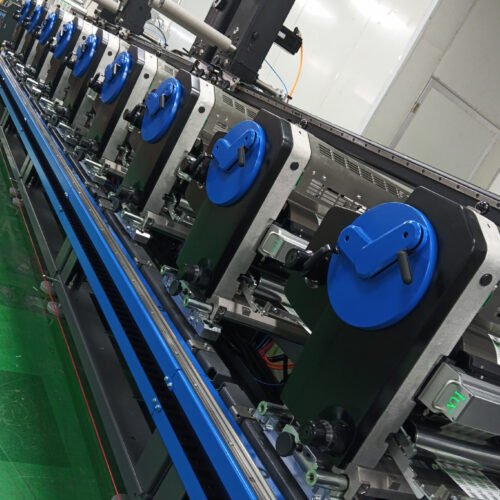
In flexo and narrow web presses, position lamps after each print station for intermediate curing. For sheetfed offset, install post-coating units.
5. Calbrate Irradiance and Dose
Under- or over-curing causes adhesion failures or brittleness. Use a radiometer to measure:
- Irradiance (UV intensity in W/cm²): Adjust lamp power to meet ink manufacturer’s specs.
- Energy density (dose in J/cm²): Ensure exposure time (line speed ÷ lamp length) delivers the required dose.
For LED systems, maintain irradiance above 1.5 W/cm² for fast-curing inks.
6. Optimize Ink and Coating Formulas
UV inks require photoinitiators that react to your system’s wavelength:
- LED UV: Use 395 nm photoinitiators like TPO or ITX
- Mercury lamps: Benzophenone or 1-HCHPK for full-spectrum curing
Test ink adhesion and flexibility using ASTM D3363 (pencil hardness) and ASTM D3359 (tape test).
7. Integrate With Press Controls
Synchronize UV systems with press automation for:
- Speed-dependent power adjustment (e.g., reducing irradiance during slowdowns)
- Emergency shutdown protocols to prevent overheating
- Real-time energy monitoring via PLC interfaces
8. Conduct Safety Checks
- Install UV-blocking shields to protect operators from eye/skin exposure
- Equip mercury lamp systems with ozone detectors
- Post warning labels and lockout/tagout procedures for maintenance
9. Run Test Prints and Adjust
Produce test batches using:
- Gradient screens to identify curing inconsistencies
- Overprint varnishes to check surface hardness
- Stretch tests for flexible packaging prints
Fine-tune lamp alignment, conveyor speed, and cooling settings until achieving full cure.
10. Schedule Preventative Maintenance
- LED systems: Clean lenses monthly; replace diodes every 10,000-15,000 hours
- Mercury lamps: Rotate bulbs quarterly to prevent uneven electrode wear; replace annually
- Inspect reflectors and airflow paths biweekly
Troubleshooting Common UV Curing Issues
- Tacky surfaces: Increase irradiance or reduce line speed
- Ink delamination: Check substrate pretreatment; verify photoinitiator concentration
- Yellowing: Overheating—improve cooling or switch to LED UV
By methodically configuring your UV curing system, printers achieve faster turnaround, sharper graphics, and broader substrate versatility. Regular monitoring and data-driven adjustments keep energy costs predictable while maintaining print consistency. For operations running mixed jobs—such as labels with variable data or shrink sleeves—modular LED units provide the flexibility to scale curing power as needed.

