How to Integrate a UV Curing System into an Existing Press: A Step-by-Step Guide for Print Professionals
Integrating a UV curing system into an existing press unlocks faster production speeds, reduced energy costs, and improved print quality for label, flexographic, offset, and narrow-web applications. This guide breaks down the technical and practical steps to retrofit your press with LED UV technology while addressing common challenges in printing workflows.
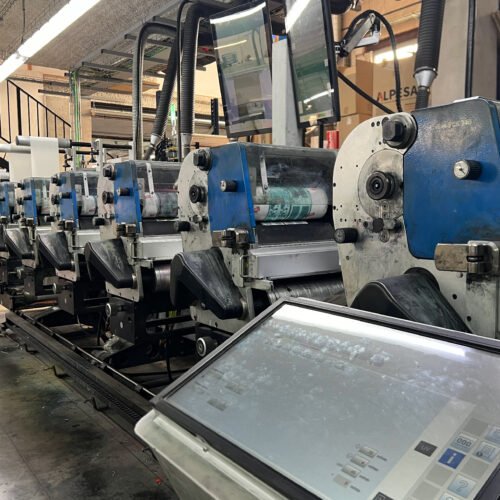
Step 1: Assess Your Press Compatibility
Before retrofitting, evaluate your press’s mechanical and electrical infrastructure. Key considerations include:
- Space Constraints: Measure available space near print units or after-stations. LED UV lamps are compact but require proper airflow.
- Power Supply: LED systems demand stable voltage (typically 100-240V). Verify if existing wiring supports added loads.
- Substrate Compatibility: Ensure materials (e.g., films, paper, shrink sleeves) tolerate UV curing’s low-heat output.
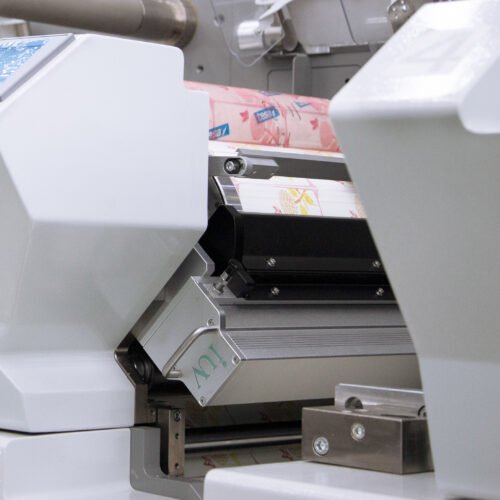
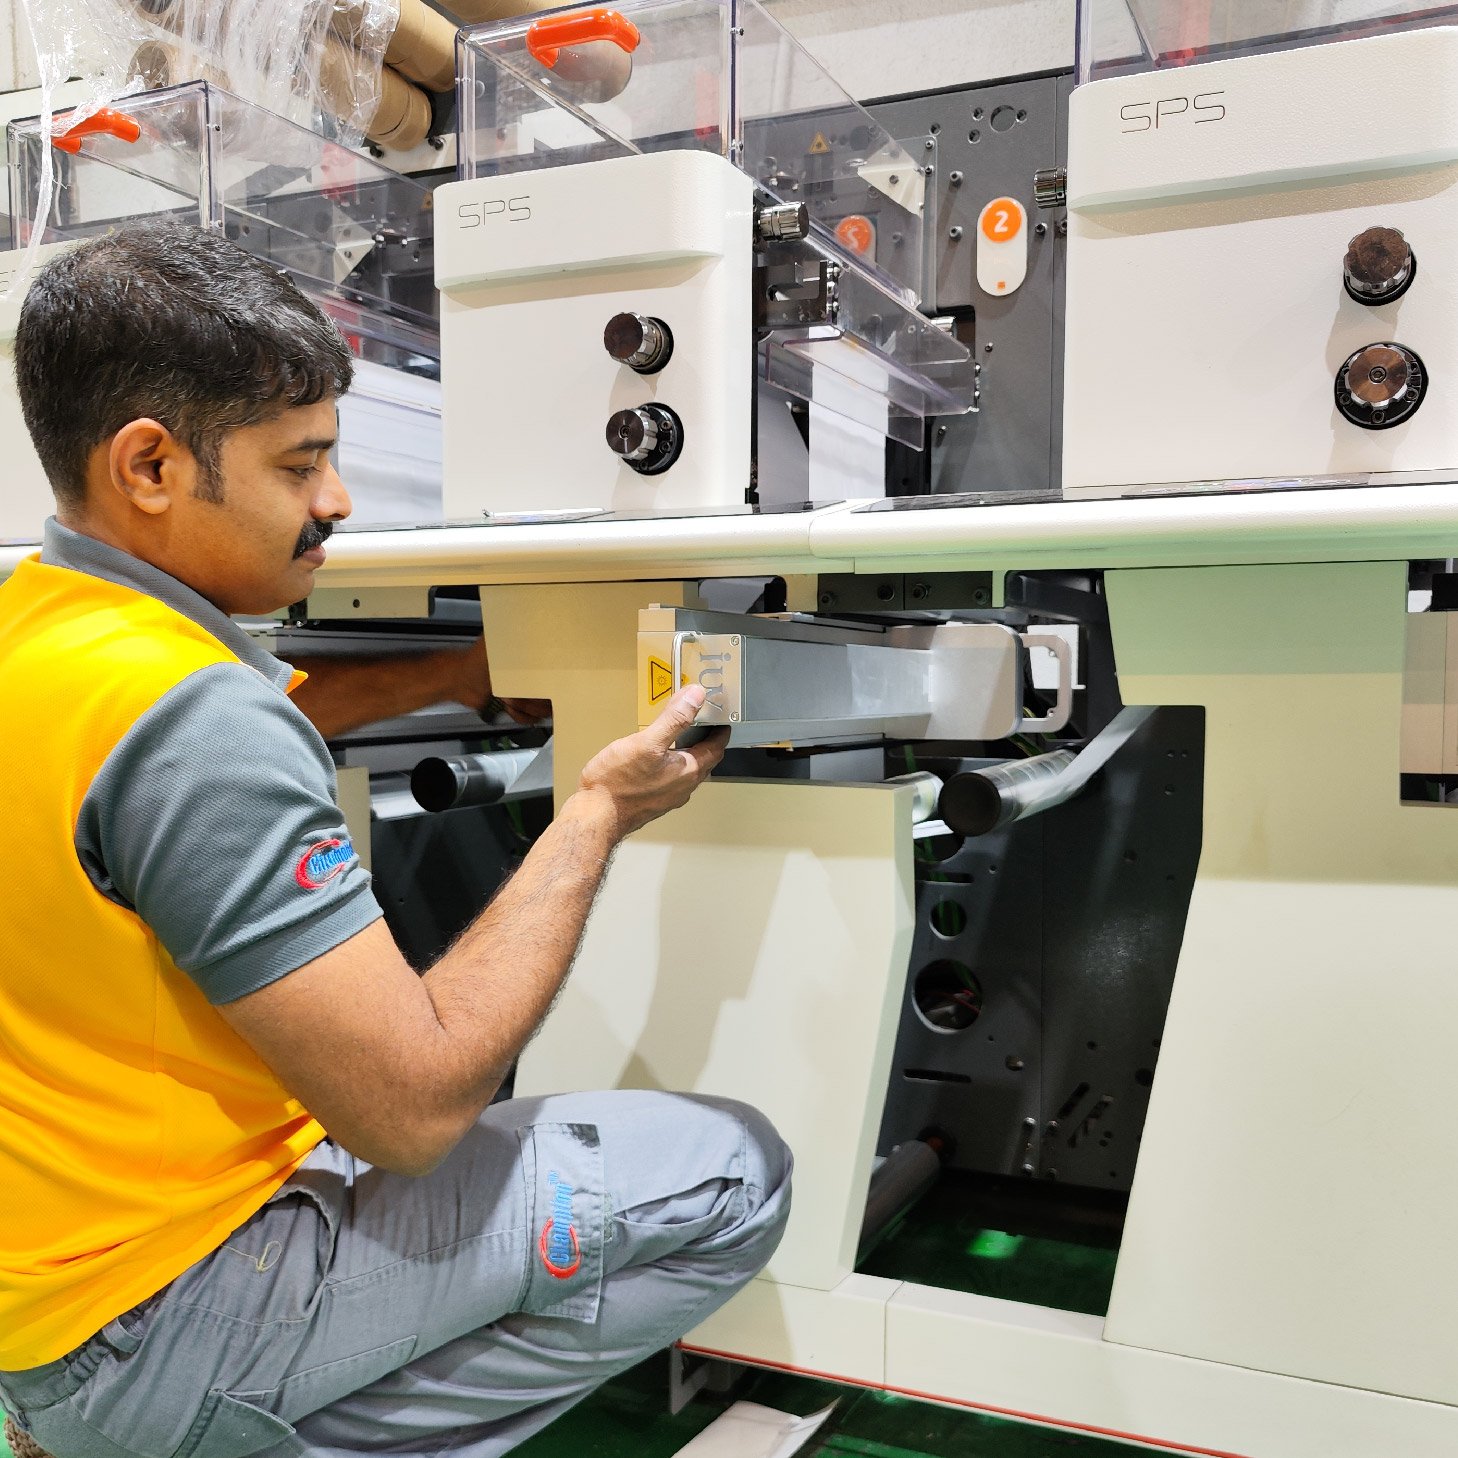
For narrow-web and label presses, modular UV units often integrate seamlessly between print stations. Offset and flexo presses may need customized mounting solutions.
Step 2: Choose the Right LED UV System
Not all UV curing systems are equal. Prioritize:
- Wavelength Match: Select LEDs emitting 365-395 nm wavelengths to align with photoinitiators in UV inks/coatings.
- Irradiance Levels: High irradiance (≥1,500 mW/cm²) ensures rapid curing for fast-paced flexo or label jobs.
- Cooling Mechanisms: Opt for systems with air or water cooling to prevent heat buildup on heat-sensitive substrates.
For sheetfed offset presses, consider hybrid systems that combine UV and IR drying for complex coated stocks.
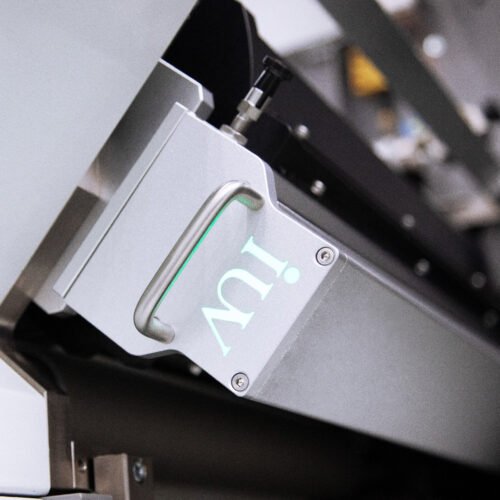
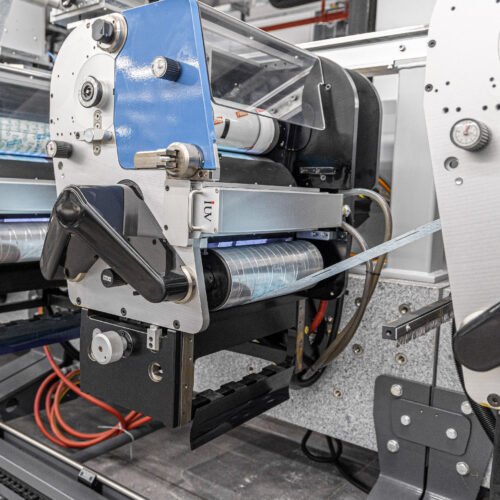
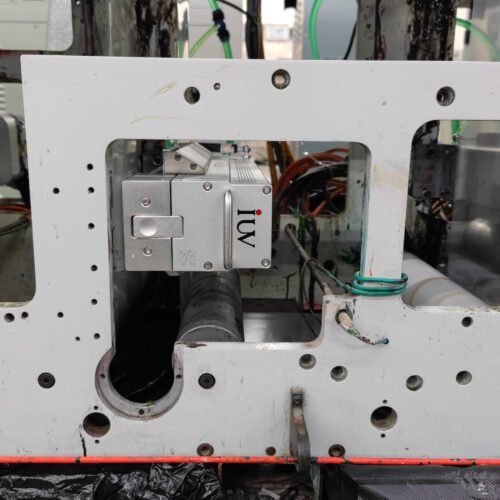
Step 3: Retrofit Installation Best Practices
- Mounting: Secure UV lamps 2-5 cm from the substrate using adjustable brackets. Align lamps perpendicular to the web/sheet path.
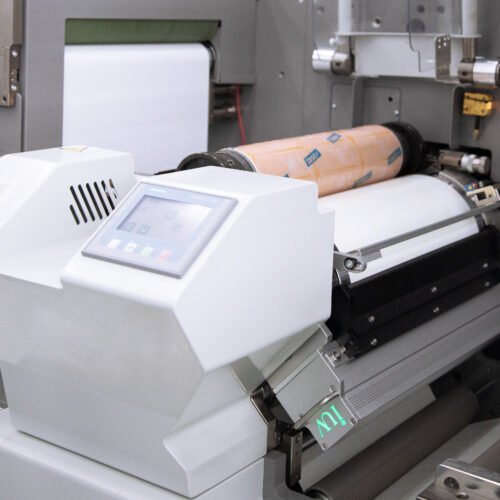
- Electrical Integration: Connect to the press’s PLC for automated on/off control synchronized with print speed.
- Safety Upgrades: Install UV-blocking shields and sensors to protect operators from light exposure.
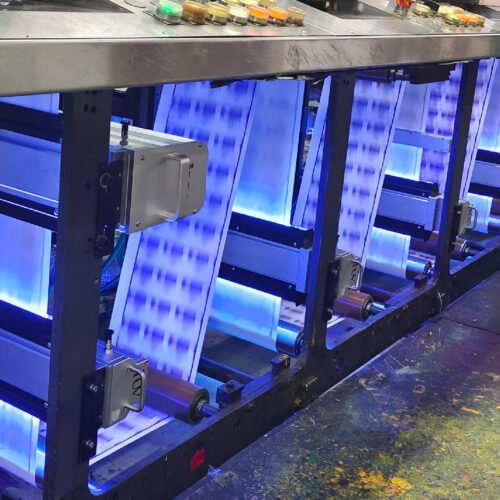
Pro Tip: For narrow-web presses, position curing units after each print station to prevent ink offsetting.
Step 4: Optimize Ink and Coating Formulas
Traditional inks won’t cure under UV light. Partner with suppliers to:
- Replace solvent-based inks with UV-curable alternatives.
- Adjust viscosity for compatibility with anilox rollers (flexo) or ink ducts (offset).
- Test adhesion and flexibility for label stocks exposed to LED UV’s instant curing.
Note: UV coatings for offset gloss effects require precise thickness (1-3 µm) to avoid cracking.
Step 5: Calibrate Curing Parameters
Fine-tune settings post-installation:
- Exposure Time: Adjust conveyor speed or lamp intensity to achieve full cure. Use a thumb-twist test for validation.
- Oxygen Inhibition: Inert the curing zone with nitrogen gas if surface tackiness persists.
- Energy Savings: Dial down irradiance during low-speed jobs to reduce power use by up to 70%.
For rotary screen or flexo presses, synchronize lamp pulsing with repeat lengths to minimize energy waste.
UV Curing Advantages by Print Process
- Label Printing: Eliminate drying ovens, enabling instant die-cutting and slitting.
- Flexographic Printing: Print on PET/PE films without heat distortion.
- Offset Printing: Achieve high-gloss coatings without yellowing.
- Narrow-Web: Cure thick white inks in a single pass for opaque packaging designs.
Troubleshooting Common Integration Issues
- Incomplete Curing: Check for expired photoinitiators or incorrect lamp-substrate distance.
- Web Wrinkling: Reduce tension or install chill rolls to counteract minimal heat from LEDs.
- Adhesion Failure: Pretreat substrates with corona or plasma to improve ink anchorage.
Maintenance for Long-Term Performance
- Clean quartz lenses weekly with isopropyl alcohol to prevent dust-related shadowing.
- Replace LED arrays after 20,000 hours (varies by usage) to maintain peak irradiance.
- Monitor curing consistency with a radiometer quarterly.
Retrofitting a UV curing system modernizes presses for eco-friendly, high-margin production. By aligning LED specifications with substrate needs and press dynamics, converters achieve faster turnaround times and superior print durability. For specialized applications like shrink sleeves or metallic inks, consult UV engineers to tailor wavelengths and lamp configurations.
Ready to upgrade? Partner with UV technology providers for a press audit and ROI analysis tailored to your print volume and substrate mix.