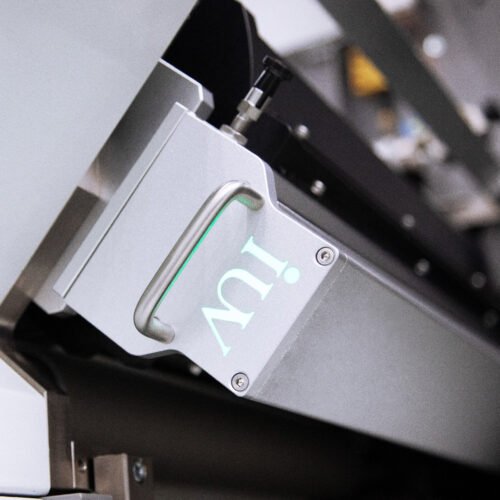
Troubleshooting Common Issues in UV Curing Systems for Printing
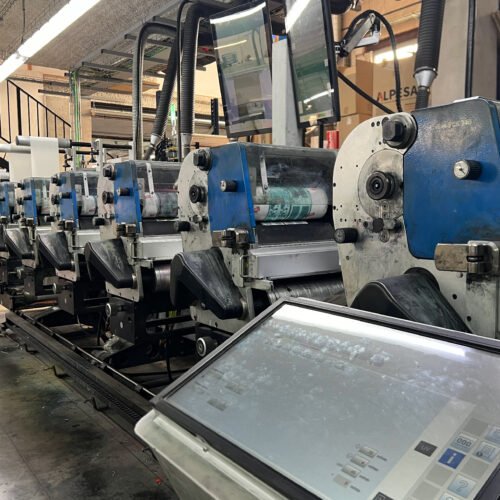
UV curing technology has revolutionized the printing industry. It offers fast drying times and durable finishes. This is a significant advantage for label printing, flexographic printing, and offset printing. However, like any sophisticated system, UV curing units can experience issues. Understanding these problems and their solutions is key to maintaining productivity. Let’s explore some common troubleshooting scenarios.
Incomplete Curing or Under-Curing
This is perhaps the most frequent concern. When ink or coating doesn’t cure properly, it leads to smudging, poor rub resistance, and adhesion problems. Several factors can cause this.
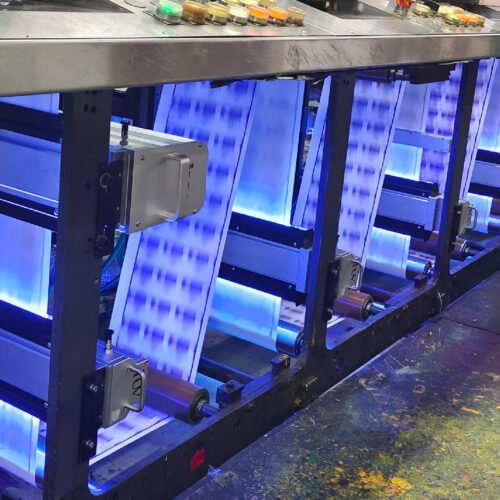
- UV Lamp Intensity: The UV lamps themselves might be aging or have accumulated dirt. Old lamps lose their intensity over time. Always check the lamp’s operating hours. Manufacturers provide recommended replacement intervals. Regular cleaning of the UV lamp reflectors and shields is also vital. A dirty reflector can significantly reduce the UV output reaching the substrate.
- Incorrect UV Dose: The UV dose is the amount of UV energy delivered to the ink. It depends on lamp intensity and exposure time (which is related to press speed). If the press speed is too high for the lamp output, under-curing will occur. Conversely, if the speed is too slow, it can lead to ink ooze or overheating. Ensure the press speed is synchronized with the UV system’s capabilities.
- Ink/Coating Formulation: Not all inks and coatings are created equal. They have specific curing requirements. Ensure you are using a UV-curable product designed for your specific printing process and substrate. Check the manufacturer’s recommendations for the correct UV dose required for that particular ink or coating. Some colors, like dense blacks or whites, can be harder to cure because they block UV light. Thicker ink films also require more energy.
- Substrate Issues: Some substrates absorb UV light more than others. Translucent or highly absorbent materials might require more careful consideration. The presence of certain additives in the substrate could also interfere with the curing process.
- Ozone Buildup: Traditional mercury vapor UV lamps produce ozone. Excessive ozone can hinder the curing process and needs proper ventilation. Modern LED UV systems produce very little to no ozone, which is a significant benefit.
Yellowing of Prints
Another common issue, particularly with clear varnishes and white inks, is yellowing. This can happen shortly after curing or over time.
- Lamp Type and Heat: Older mercury vapor lamps can generate significant heat. Excessive heat can cause the ink or coating to yellow, especially if the substrate is heat-sensitive. LED UV systems operate at much lower temperatures, reducing this risk considerably.
- Ink/Coating Chemistry: The chemical composition of the UV ink or coating itself can contribute to yellowing. Some photoinitiators or resins are more prone to yellowing than others. Consult your ink supplier if this is a persistent problem.
- Over-Exposure: In some cases, over-exposure to UV light can lead to photo-oxidation, causing yellowing. This is less common but can occur with prolonged or excessive UV exposure.
Poor Adhesion
If prints rub off easily or delaminate, poor adhesion is the likely culprit.
- Incomplete Curing: As mentioned earlier, incomplete curing is a primary cause of poor adhesion. If the ink or coating isn’t fully cross-linked, it won’t bond effectively to the substrate.
- Surface Contamination: The printing substrate must be clean and free from oils, release agents, or dust. These contaminants create a barrier, preventing proper adhesion. Ensure your substrate handling and preparation processes are impeccable.
- Ink/Substrate Compatibility: Not all inks adhere equally well to all substrates. For challenging materials like certain plastics or foils, you might need specialized inks or primers to ensure good adhesion. Always test for adhesion on your specific substrate with your chosen ink and curing conditions.
Pinholes and Blistering
These defects appear as small holes or bubbles on the printed surface.
- Trapped Air: During the printing process, air can become trapped between the ink layers or between the ink and the substrate. During UV curing, this trapped air can expand due to heat, creating pinholes or blisters. This is more common in multi-layer printing or with very fast press speeds.
- Ink Viscosity and Rheology: The viscosity and flow properties of the ink play a role. If the ink is too viscous or doesn’t release air easily, these issues can arise.
- Curing Too Quickly: In some instances, if the UV lamps are too close to the ink or the intensity is excessively high, the surface can cure too rapidly, trapping volatile components or air beneath it.
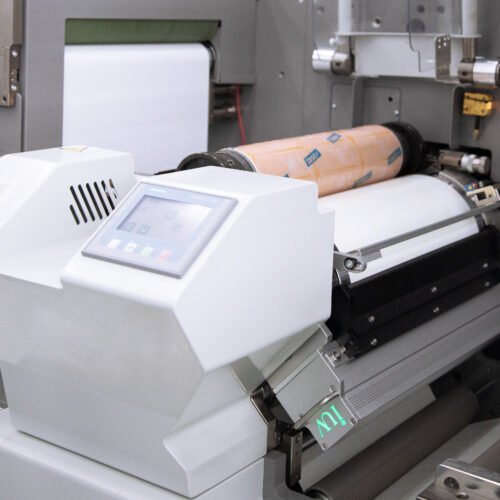
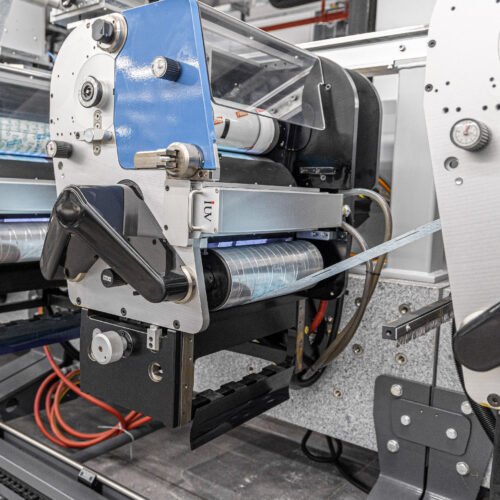
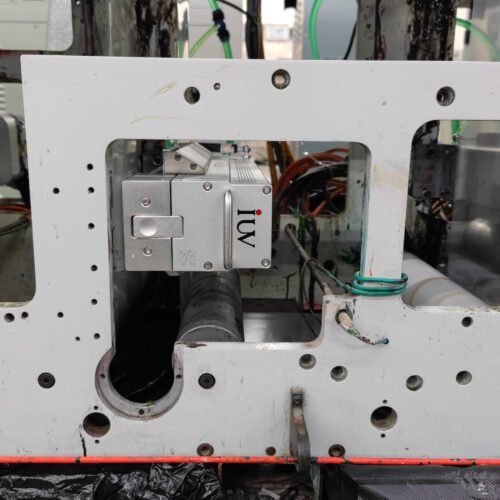
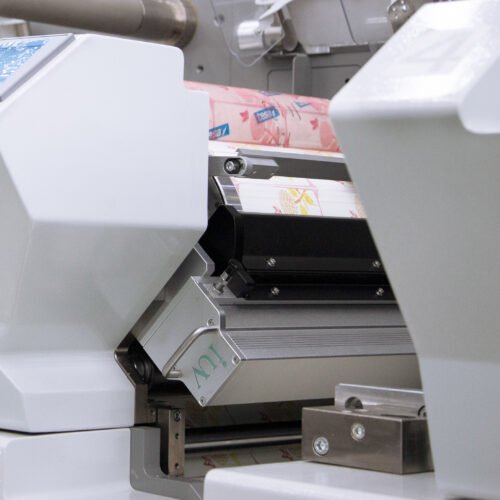
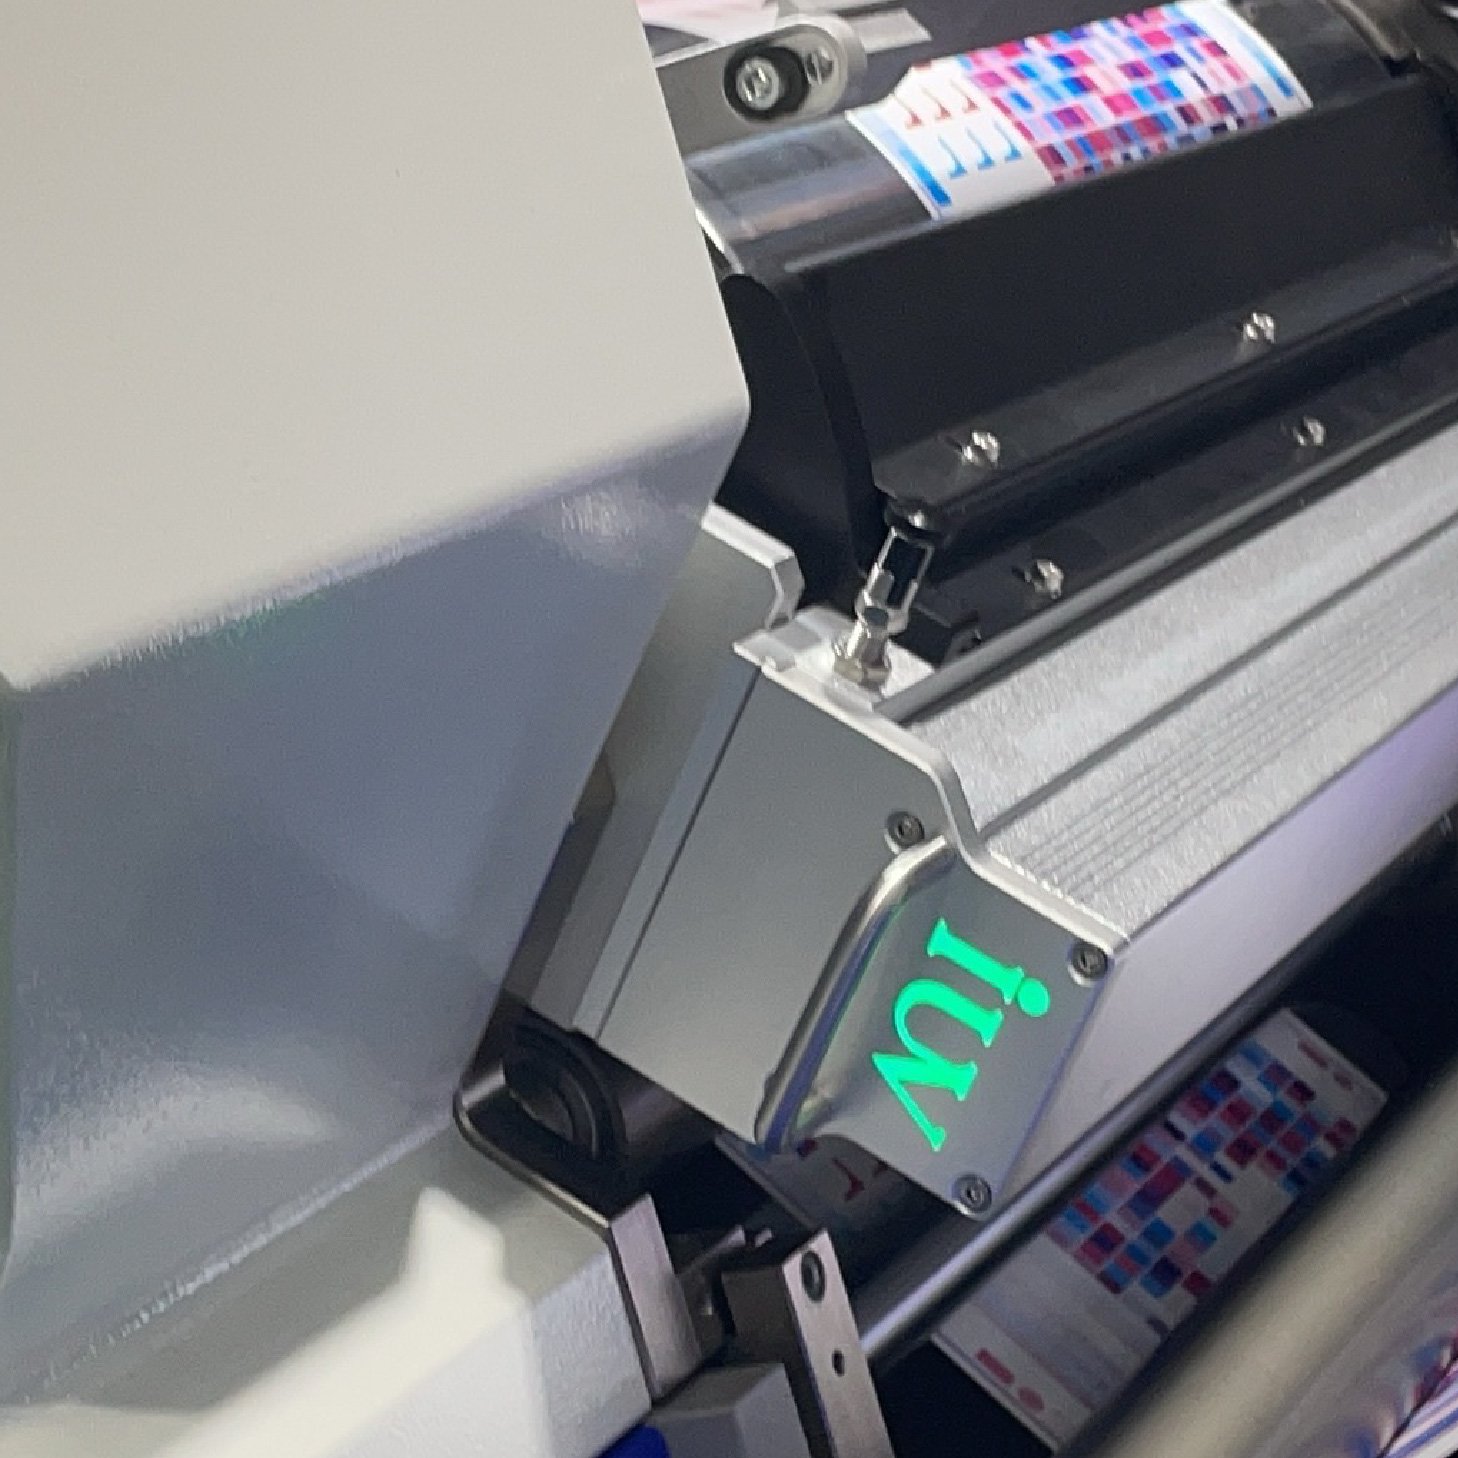
Troubleshooting with LED UV Technology
Modern LED UV curing systems offer distinct advantages. They provide a more consistent and controllable UV output. Their lower heat generation reduces the risk of substrate damage and yellowing. Troubleshooting with LEDs often involves focusing on:
- Wavelength Specificity: LED systems emit UV light at specific wavelengths. Ensure your inks and coatings are formulated to cure effectively at these particular wavelengths.
- Uniformity of Output: Check for any unevenness in the LED array. A faulty LED or an issue with the power supply could lead to inconsistent curing across the print.
- Irradiance Levels: Similar to traditional lamps, maintaining the correct irradiance (UV intensity) is crucial. While LEDs have a long lifespan, their performance can still be affected by factors like temperature and dust.
General Maintenance and Best Practices
For all UV curing systems, routine maintenance is your best defense.
- Regular Cleaning: Keep UV lamps, reflectors, and quartz windows clean. Dust and ink splatters block UV light.
- Scheduled Lamp Replacement: Adhere to the manufacturer’s recommended replacement schedule for mercury vapor lamps.
- Process Monitoring: Regularly check press speed, ink film thickness, and UV energy output. Use a radiometer to measure UV irradiance.
- Training: Ensure your operators are well-trained on the UV curing system and its operation.
By systematically addressing these common issues, printers can maximize the benefits of UV curing technology. This leads to higher quality prints, reduced waste, and improved overall efficiency in label, flexo, and offset printing operations. Implementing a proactive approach to troubleshooting and maintenance ensures your UV curing systems perform at their peak.