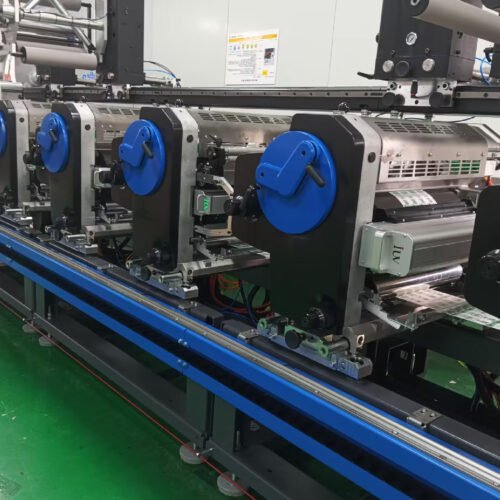
Elevate Your Label Prints: Mastering Flexo with UV Curing
Achieving exceptional flexo print quality on narrow web labels demands precision. One of the most impactful technologies for this is UV curing. It’s a game-changer for speed, color vibrancy, and durability. This guide breaks down how to optimize your flexo print process using LED UV curing.
Understanding UV Curing in Flexo
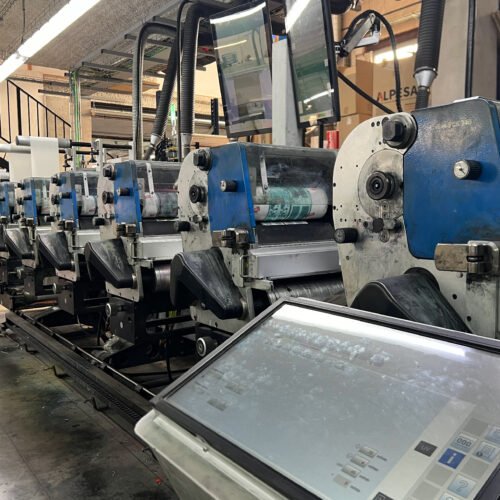
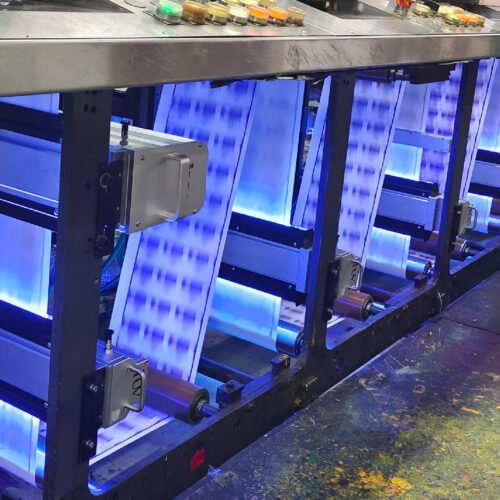
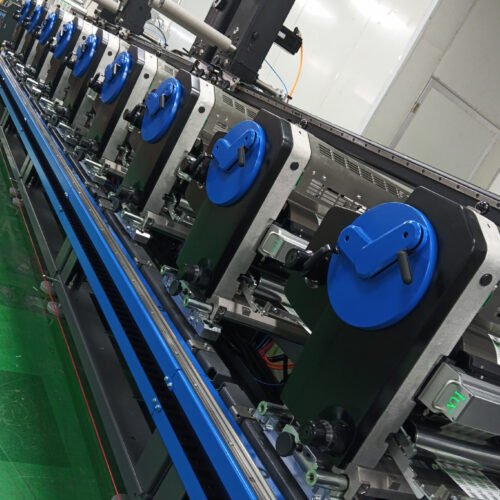
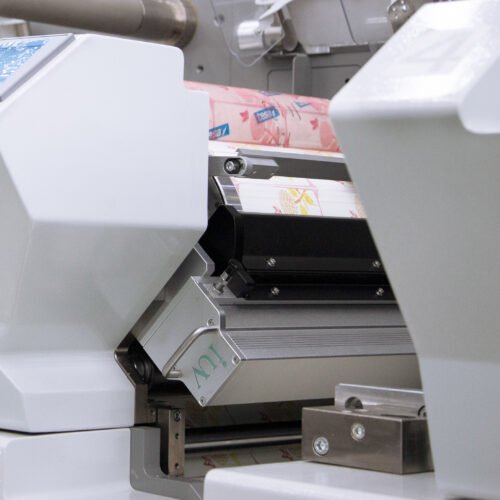
UV curing uses ultraviolet light to instantly dry (or “cure”) inks. Unlike traditional drying methods that rely on evaporation, UV curing triggers a photochemical reaction. This hardens the ink film immediately upon exposure to UV light. For flexographic printing, especially on narrow web presses, this means faster production speeds and sharper print results.
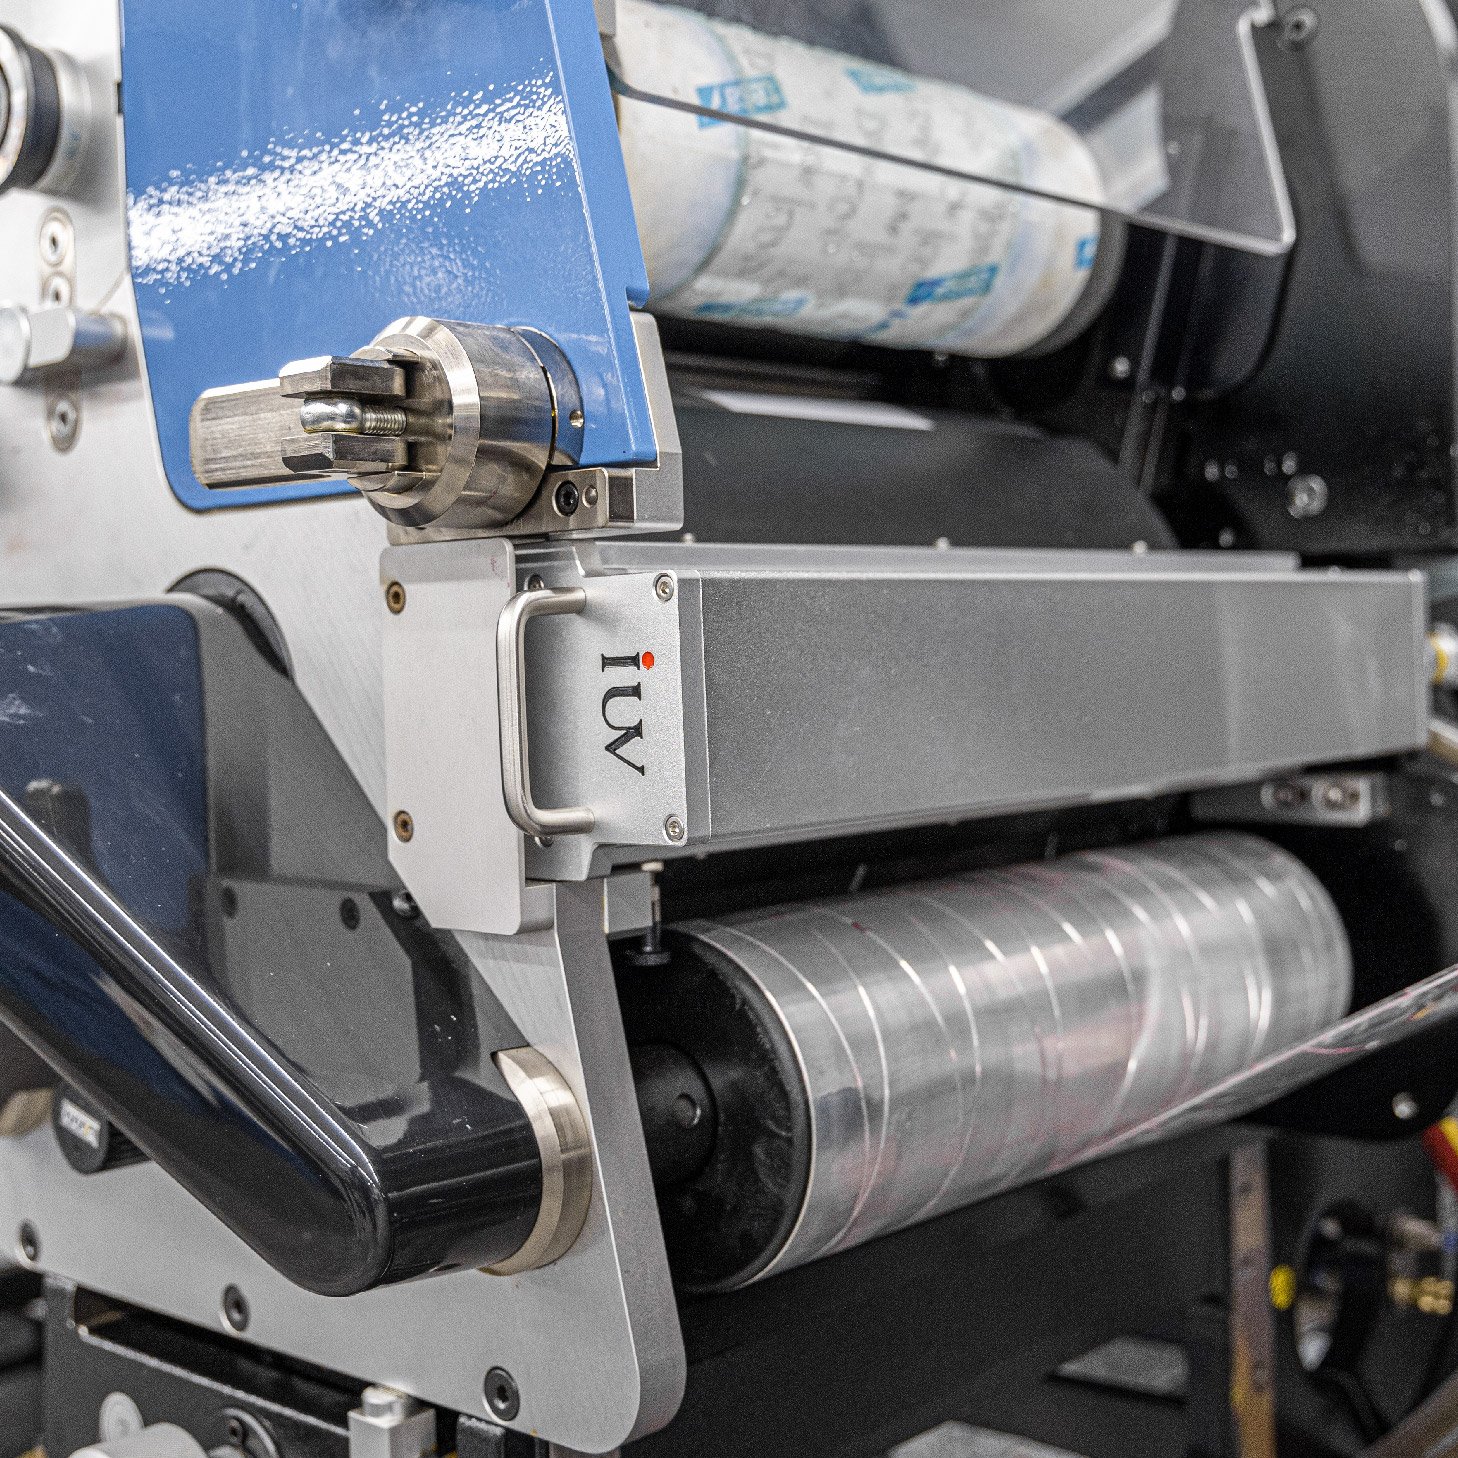
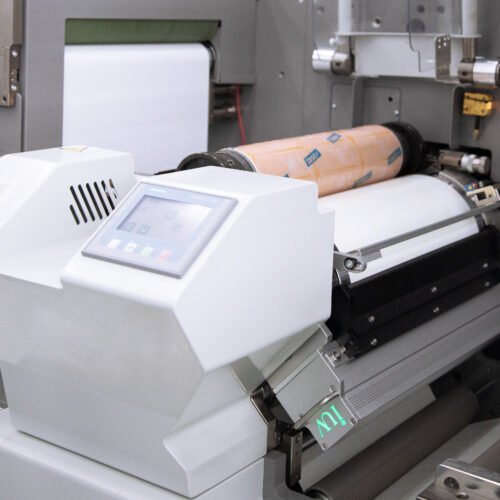
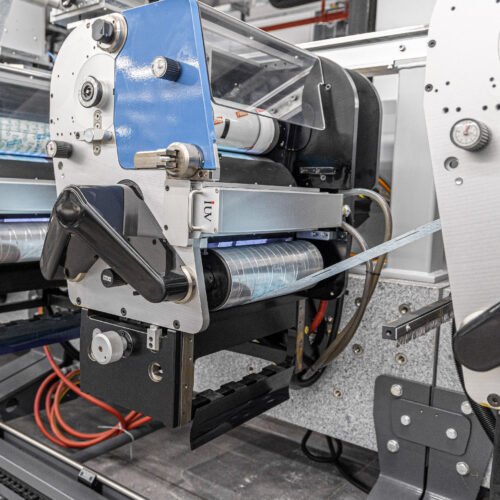
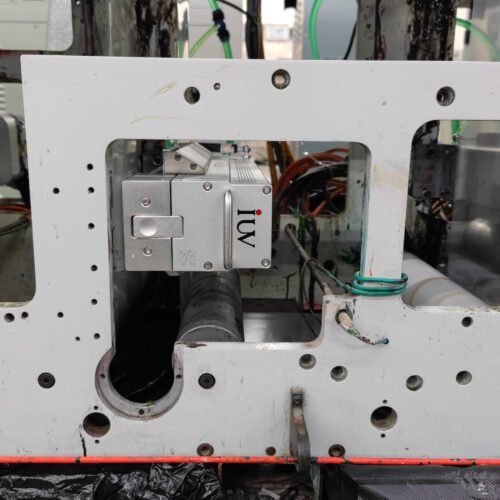
LED UV curing is the modern standard. It offers energy efficiency, longer bulb life, and a more consistent UV output compared to older mercury lamp systems. This consistency is vital for predictable print quality.
Step 1: Ink Selection is Key
Not all UV inks are created equal. For flexo printing, you need inks specifically formulated for the substrate you are using. Common substrates include paper, various plastics like PE and PP, and even some foils.
Work closely with your ink supplier. Discuss your press speed, anilox roll specifications, and curing unit. They can recommend the best ink series for your application. Look for inks with good adhesion, pigment strength, and scratch resistance. The right ink will flow and transfer predictably from the anilox to the plate and then to the substrate.
Step 2: Anilox Roll Optimization
The anilox roll is the heart of ink transfer in flexo. Its cell volume and engraving pattern dictate how much ink is delivered to the printing plate. For fine details and solid coverage, the correct anilox is essential.
- Volume: A lower volume anilox is often preferred for high-resolution graphics and fine text. This prevents ink mounding and ensures cleaner dot reproduction. For solid areas, a higher volume might be necessary.
- Engraving (LPI/LPCM): The line screen of the anilox needs to match your plate’s capabilities. A common mistake is using an anilox with too high a line screen for the plate resolution, leading to moiré patterns or poor ink transfer.
- Cell Geometry: Different cell shapes (e.g., U, V, hexagonal) can affect ink release. Consult with your anilox supplier to determine the best geometry for your ink and press.
Regular cleaning of anilox rolls is non-negotiable. Residue buildup reduces ink transfer and degrades print quality. Ultrasonic cleaning is the most effective method.
Step 3: Plate Choice and Exposure
Printing plates translate the digital image to a physical form. For UV flexo, especially on narrow web presses, photopolymer plates are standard.
- Durometer: The hardness of the plate material (durometer) impacts how well it transfers ink to the substrate and how much it squeezes under pressure. Softer plates can offer better ink transfer for solid areas, while harder plates might be better for fine detail.
- Plate Thickness: Consistent plate thickness is crucial for even impression across the entire print width.
- Dot Reproduction: Ensure your plates are capable of reproducing the fine dots required by your artwork. The flexo plate manufacturer can advise on optimal plate types for specific design elements.
- Exposure: Proper plate exposure is critical for achieving the correct dot gain and relief depth. Over-exposure can lead to tight shoulders and loss of highlight detail. Under-exposure can result in weak dots and print defects. Follow the plate manufacturer’s guidelines precisely.
Step 4: Press Setup and Impression
Correct press setup ensures that ink is transferred cleanly and consistently.
- Impression: The pressure between the plate cylinder and the substrate is vital. Too much pressure can cause dot gain and plate distortion. Too little can lead to weak ink transfer and gaps in print. Aim for a kiss impression.
- Doctor Blade Pressure: The doctor blade meters ink on the anilox roll. Its pressure against the anilox is critical. Too much pressure can cause premature wear on the anilox and generate excessive heat. Too little can lead to ink streaks.
- Register: Maintaining tight register is essential for multi-color labels. This involves precise adjustment of all print stations.
Step 5: Mastering LED UV Curing
This is where the magic happens for fast, durable prints. LED UV curing offers distinct advantages.
- Wavelength: LEDs emit UV light within specific wavelength bands (e.g., 365 nm, 395 nm). Ensure your UV-curable inks are designed to cure efficiently at the specific wavelength of your LED unit. This is a critical point of compatibility.
- Irradiance and Dose: Irradiance is the power of the UV light (measured in W/cm²). Dose is the total amount of UV energy delivered (Irradiance x Time). Both must be sufficient to cure the ink film completely. Consult your ink and LED UV system suppliers for recommended settings.
- Cooling: While LEDs are more efficient, they still generate heat. Proper ventilation and cooling of the LED lamps are necessary to maintain their performance and lifespan. This also helps prevent substrate overheating.
- Curing Position: The distance between the LED lamps and the printed substrate is important. Too far, and the energy diminishes. Too close, and you risk overheating the substrate or causing premature ink curing in an undesirable way.
Troubleshooting Common Print Issues with UV Curing
- Poor Adhesion/Scratch Resistance: This often points to incomplete curing. Check your UV system’s output (irradiance), ensure the correct wavelength is used, and verify ink compatibility. Also, review doctor blade settings and ink viscosity.
- Low Color Density: This could be an anilox volume issue, incorrect plate cell engraving, or insufficient ink transfer. Check your ink viscosity and doctor blade setup.
- Dot Gain/Muddy Prints: This may stem from excessive impression, incorrect doctor blade pressure, or an anilox/plate mismatch. Ensure your press is set up for a kiss impression.
- Ink Transfer Issues: Inconsistent ink transfer can be caused by dirty anilox rolls, worn plates, or incorrect ink viscosity. Ensure your anilox is clean and your ink is properly agitated.
By systematically addressing each of these elements – from ink and anilox to plates and the UV curing process itself – you can significantly improve the quality and consistency of your flexographic label prints. Embrace LED UV curing for speed, efficiency, and superior results.

